This service will give you a fuller, longer lash look compared to a lash lift and tint. You can choose between classic, hybrid, light volume and volume eyelash extensions!
Read MoreLASH EXTENSIONS: So Many Different Options!

This service will give you a fuller, longer lash look compared to a lash lift and tint. You can choose between classic, hybrid, light volume and volume eyelash extensions!
Read MoreBrow henna is a new, all-natural formulation that creates a natural, powder-effect on the brow while thickening the hair & restoring your natural shape.
Read MoreAre you someone who cannot leave the house without curling your lashes and applying layers of mascara? A lash lift and tint will give you the same results that will last 6-8 weeks!!
Read MoreThe perfect way to achieve a fluffy, polished look that will stay in place not only all day, but for 8 weeks!!
Read MoreCheck out our first ever SAY YES video!
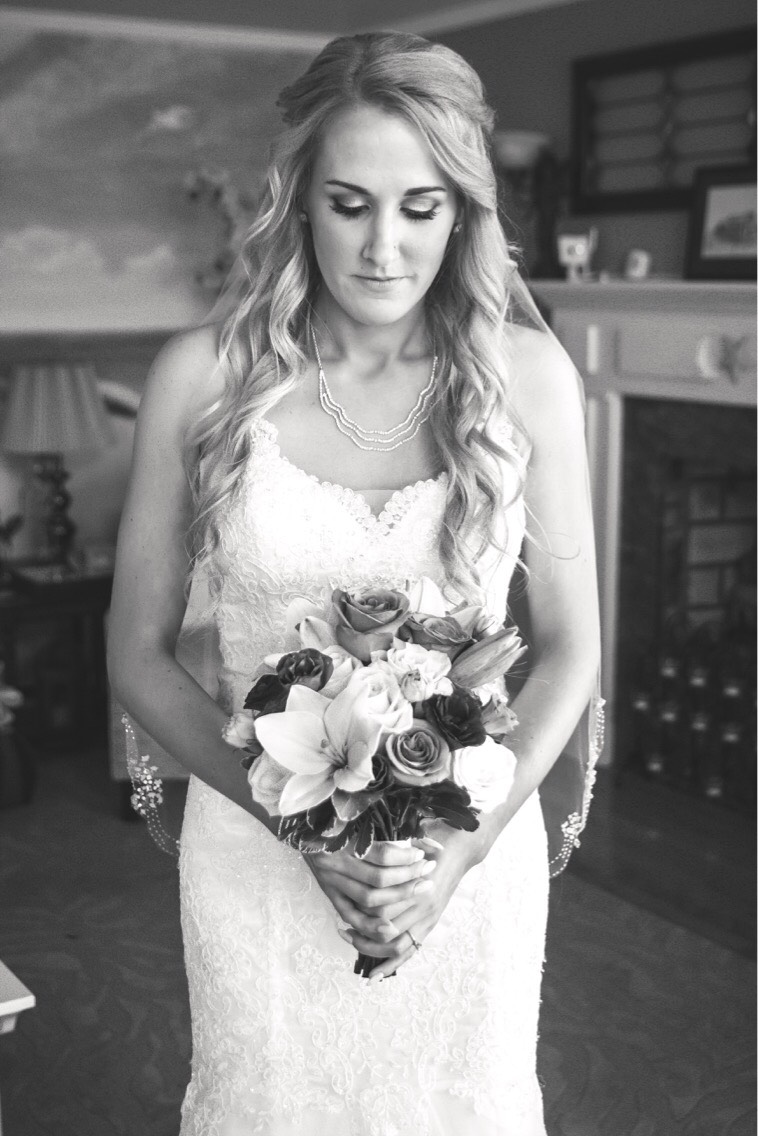
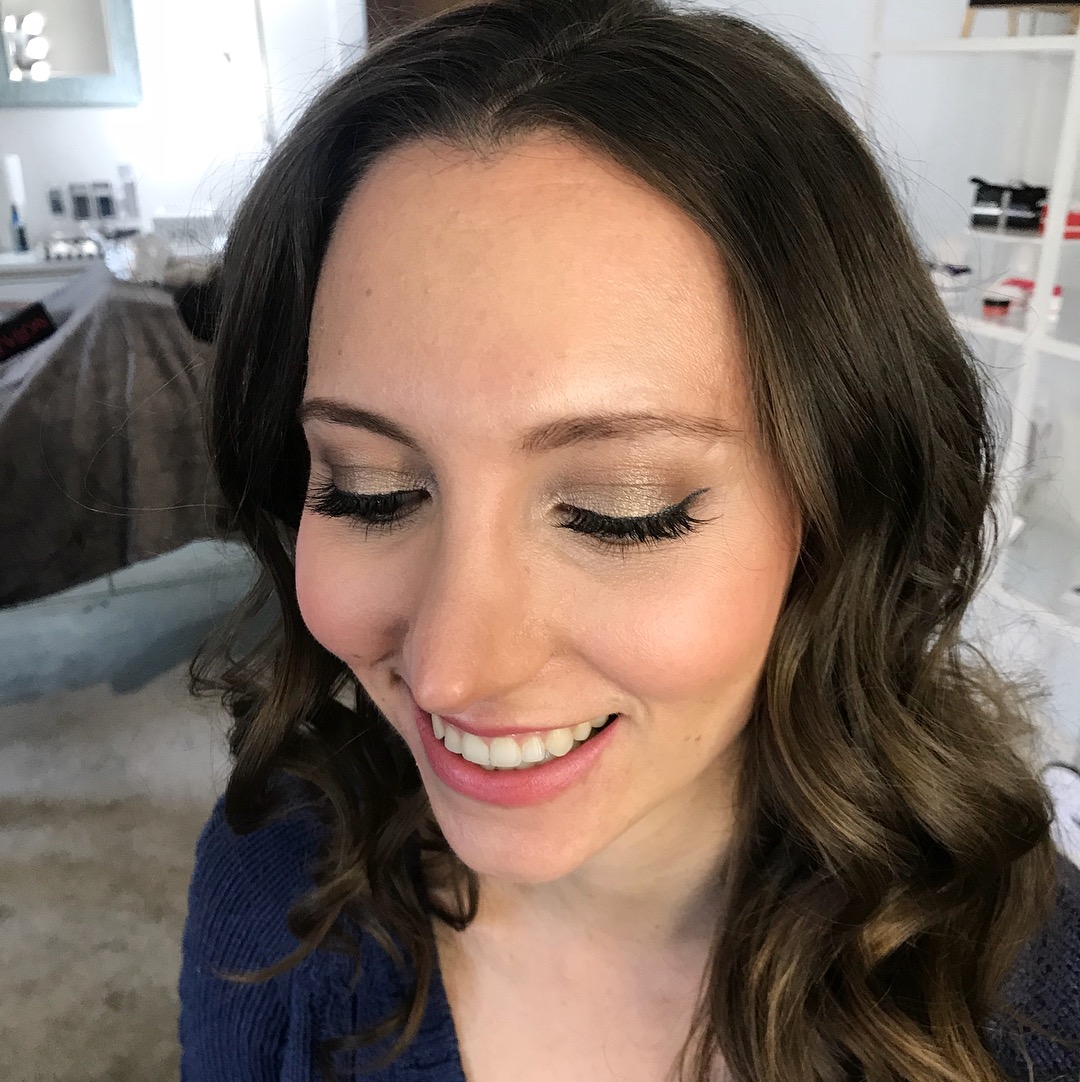
I was so excited when Erica asked me to do her makeup for her wedding! Here are some of my favorite photos from the big day!
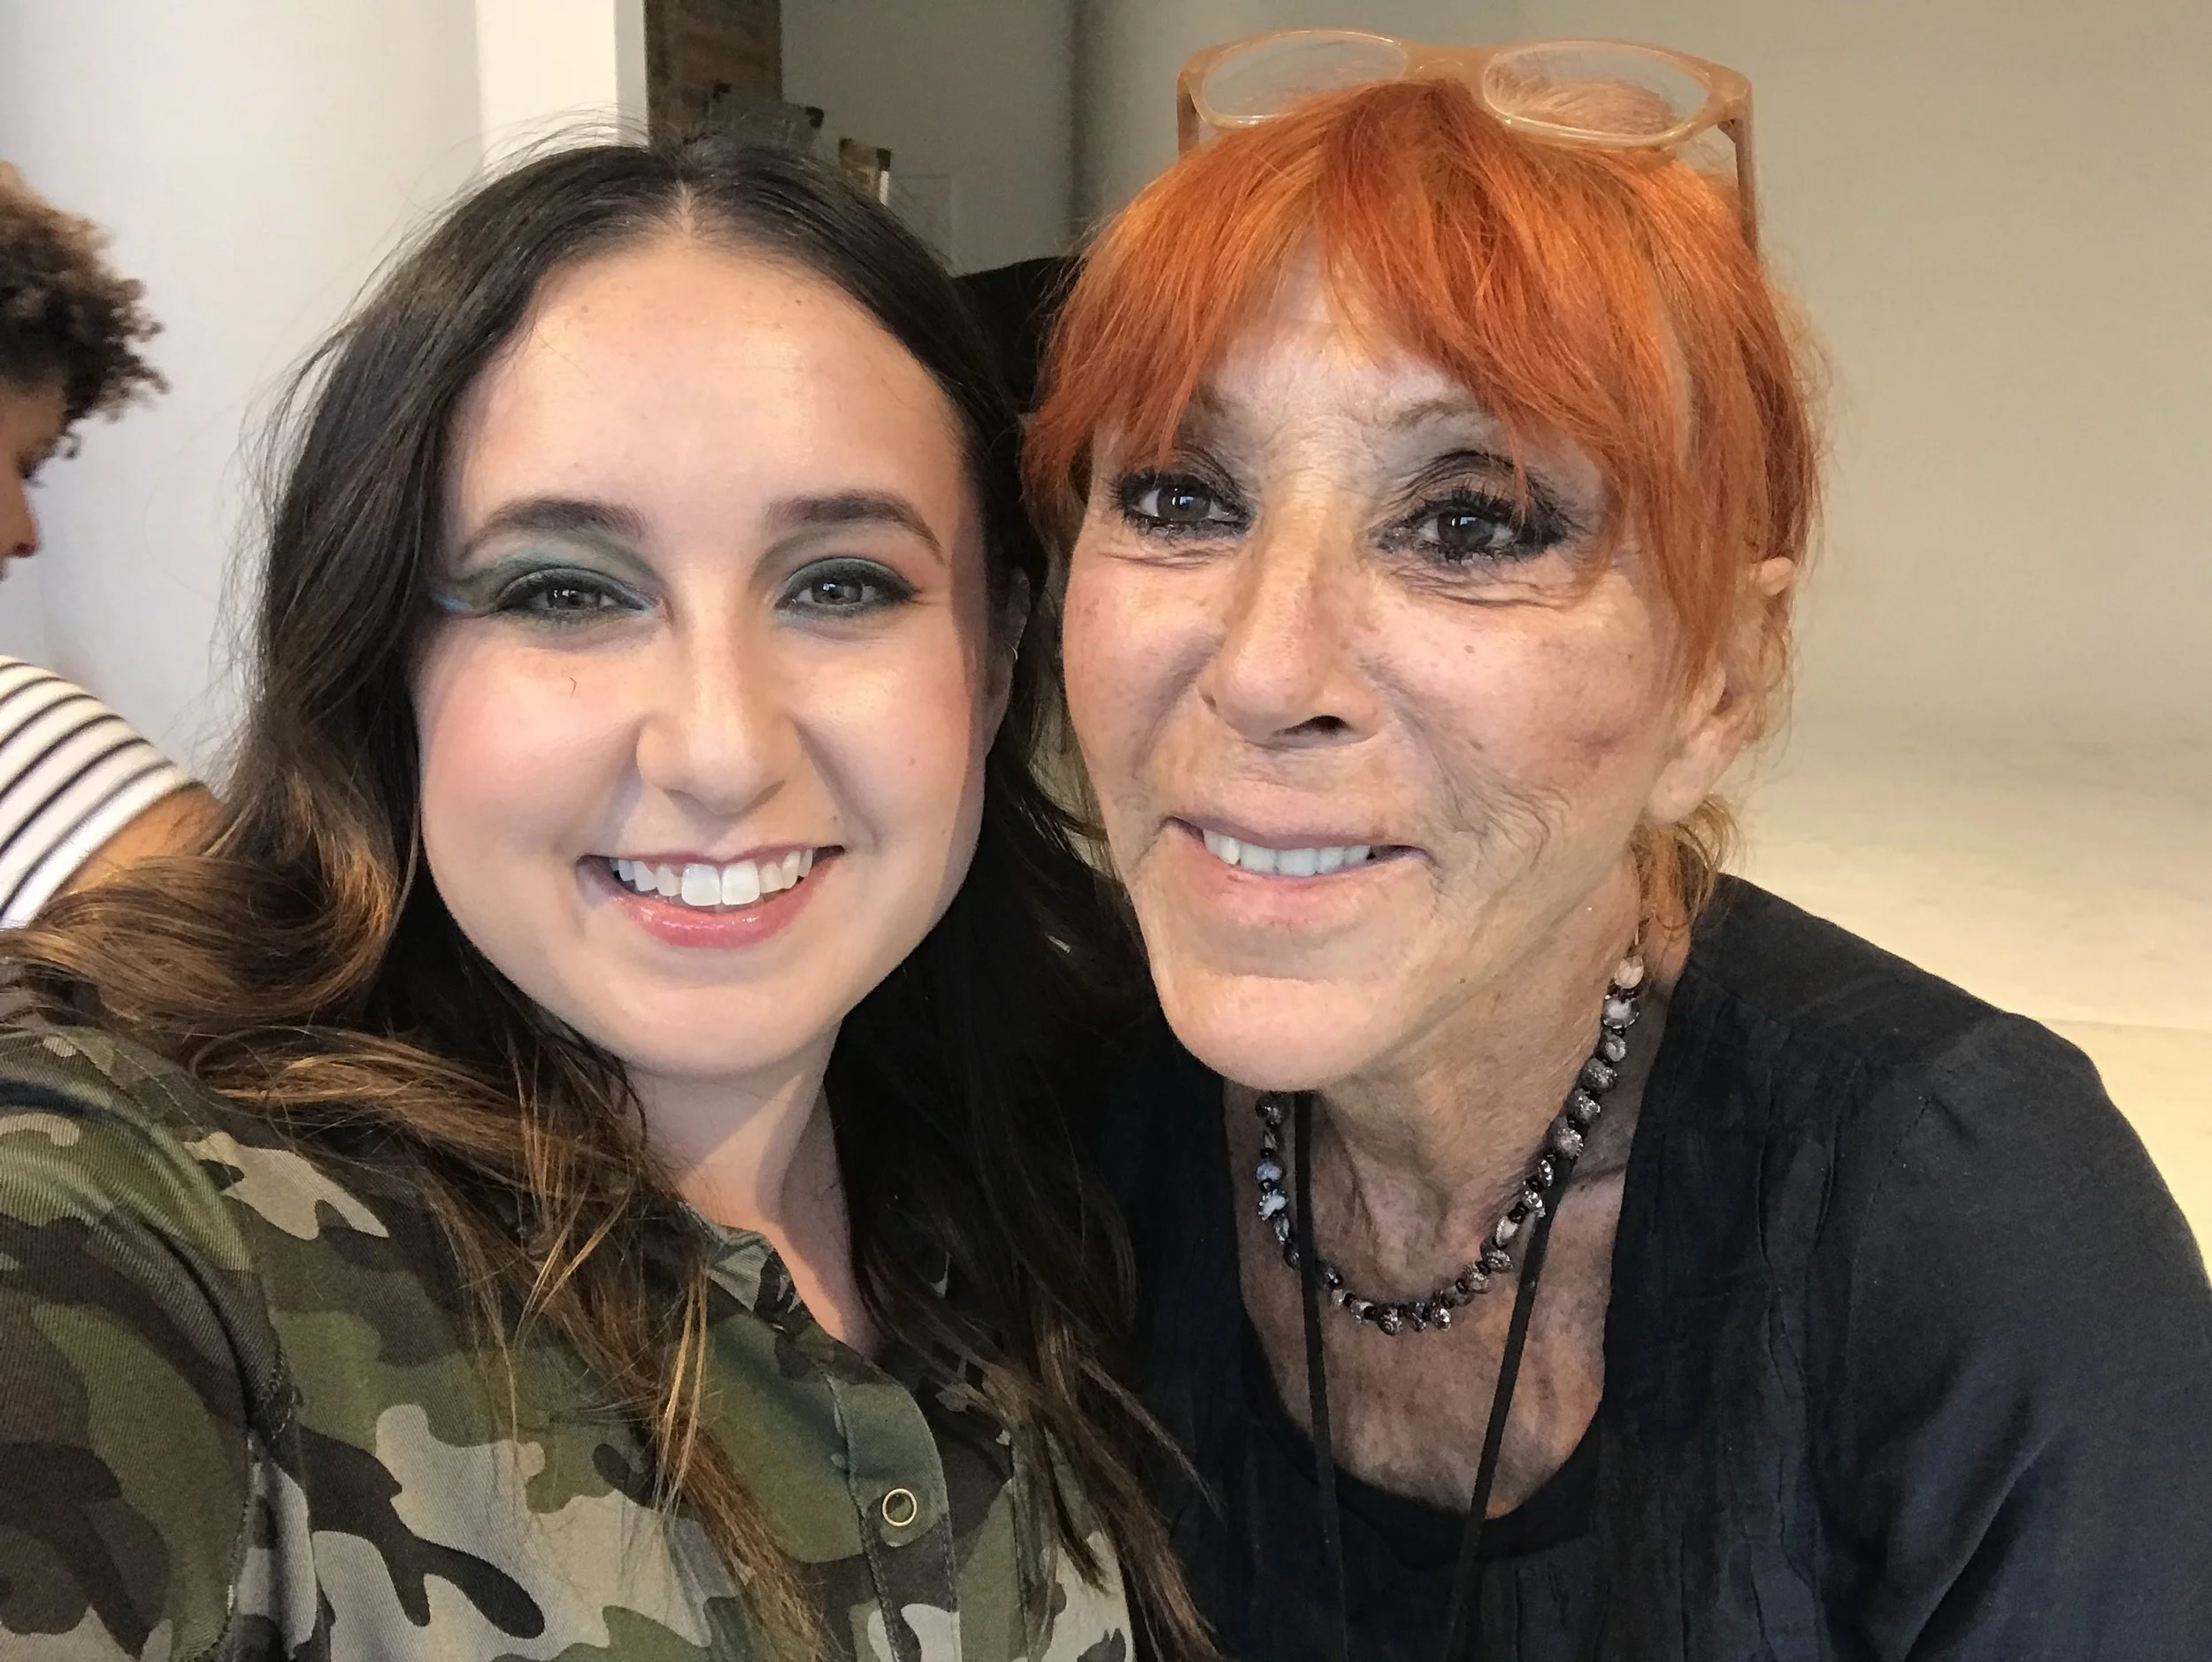
Read MoreOn August 30th, I had the extreme pleasure of attending Dany Sanz: The Master Class, hosted by The Powder Group!
Read MoreThis Week on the Blog: Featuring Melissa’s Bridal Makeup by Connecticut Bridal Makeup Artist Chelsea Dae
Read MoreThis Week on the Blog: Featuring Stephanie’s New Haven Wedding Makeup
Read MoreYou've heard of PaintNite but have you ever heard of GlamNight? Instead of painting a canvas, you paint your face!
During your two hour Glam Night Out class, learn how to apply any makeup look you want with your closest friends and family!
As I demo the desired makeup look on a model, you will be able to recreate the look on yourself!
Skin prep
Proper foundation matching
Highlighting and contouring
Day-to-night makeup application
Natural eyebrow shaping
Eyeliner tips and tricks
Makeup brush uses and care
And more!
Hello!
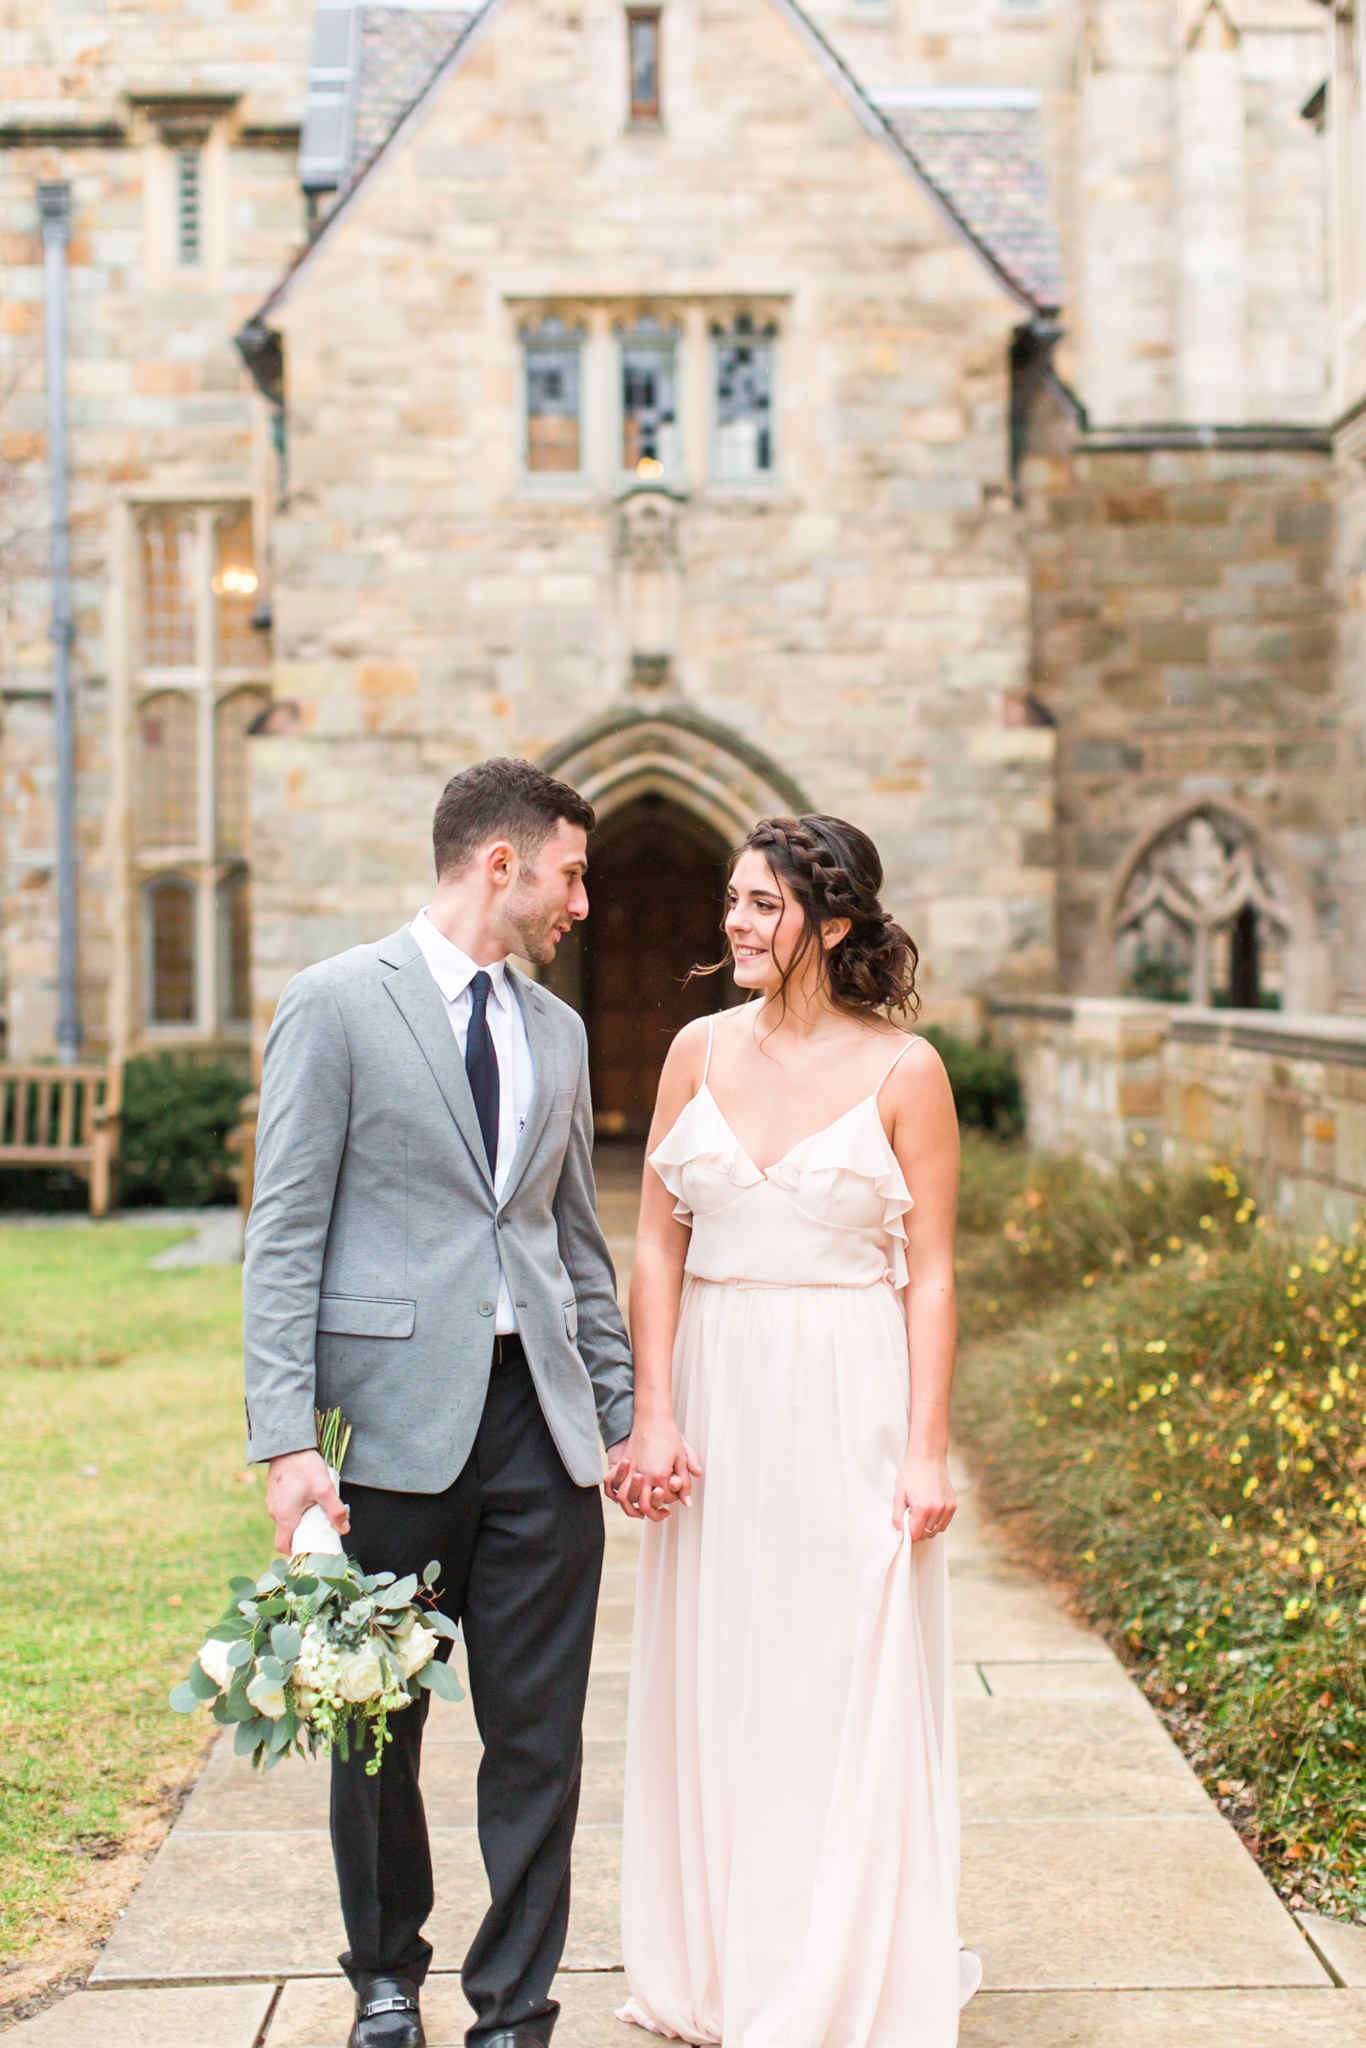
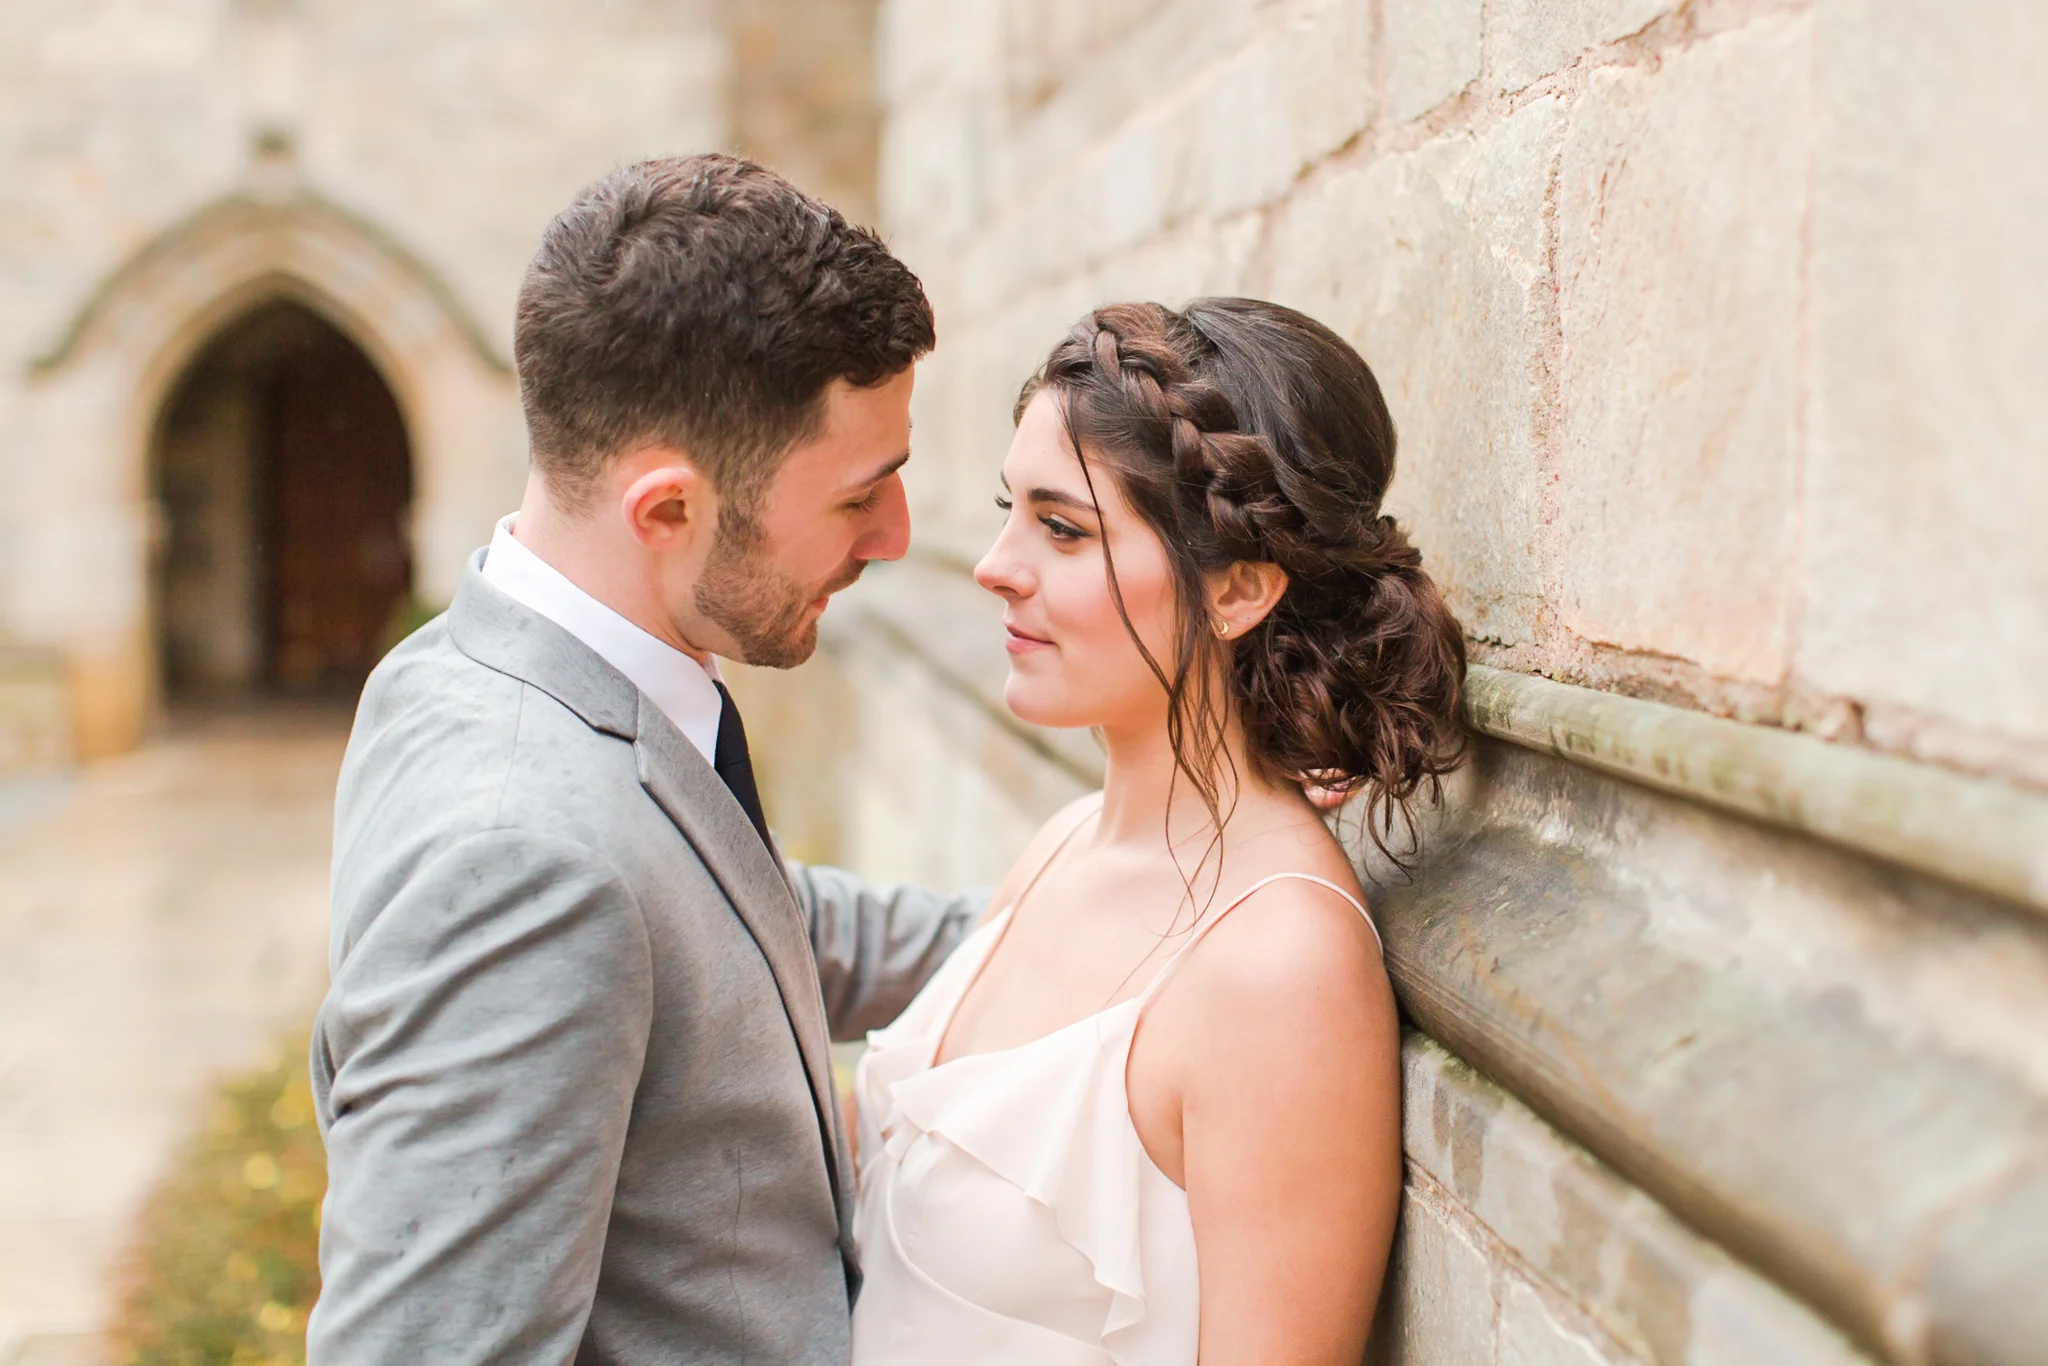
I am so excited to share these photos from a recent portrait session with Shaina Lee Photography. Our models, Shannon and Jamie, are a real life couple and their chemistry truly made the shoot that much better. Oh, and the rain did not stop us from capturing so many beautiful images around the Yale University campus. I hope you enjoy these photos as much as I do!
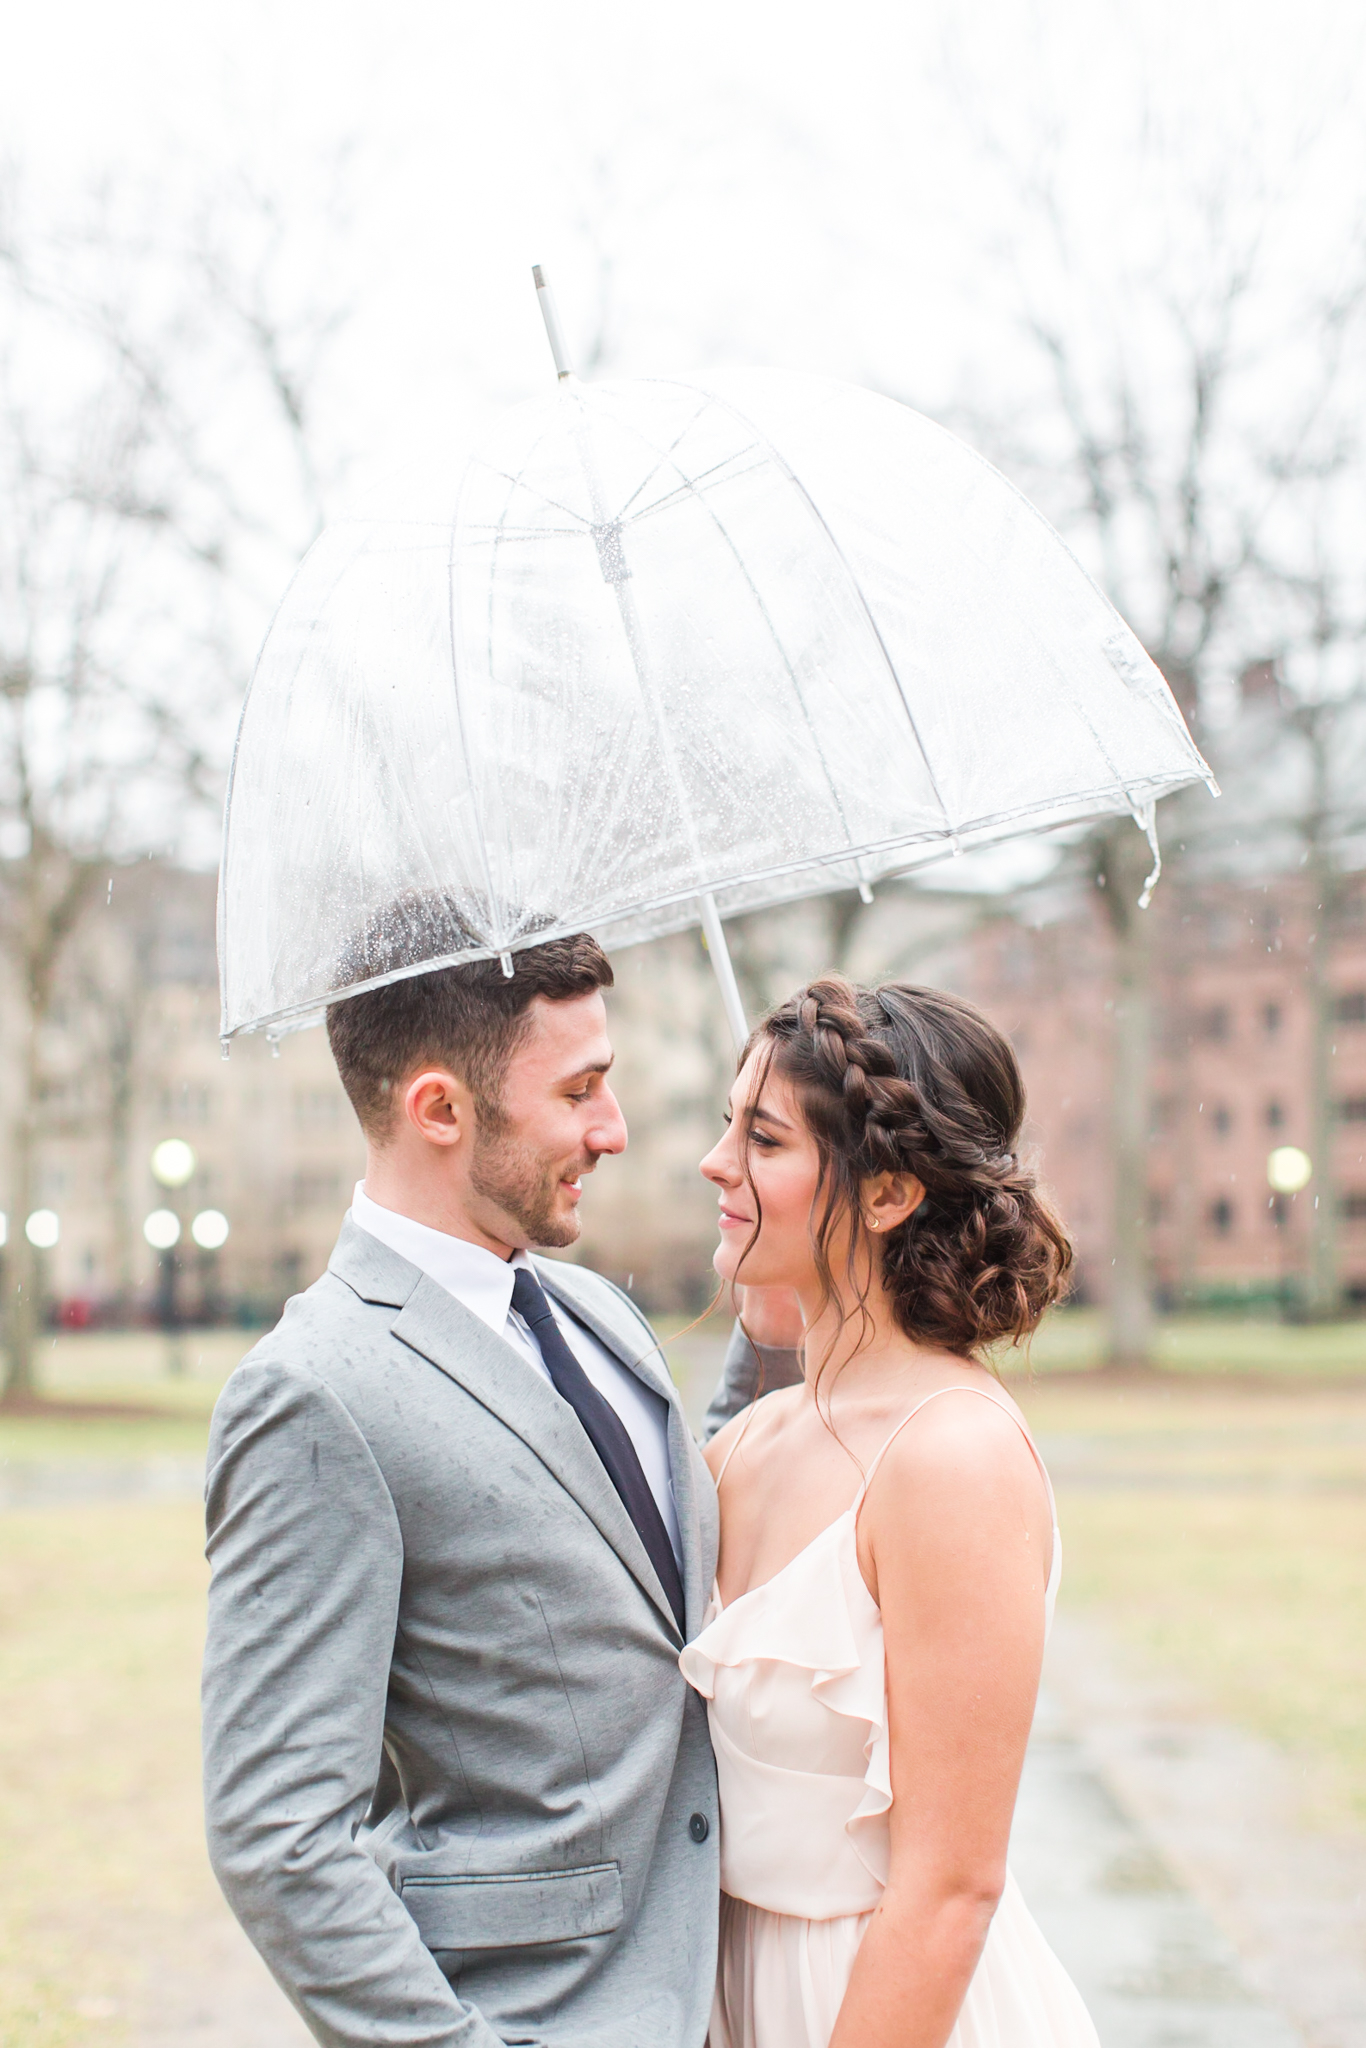
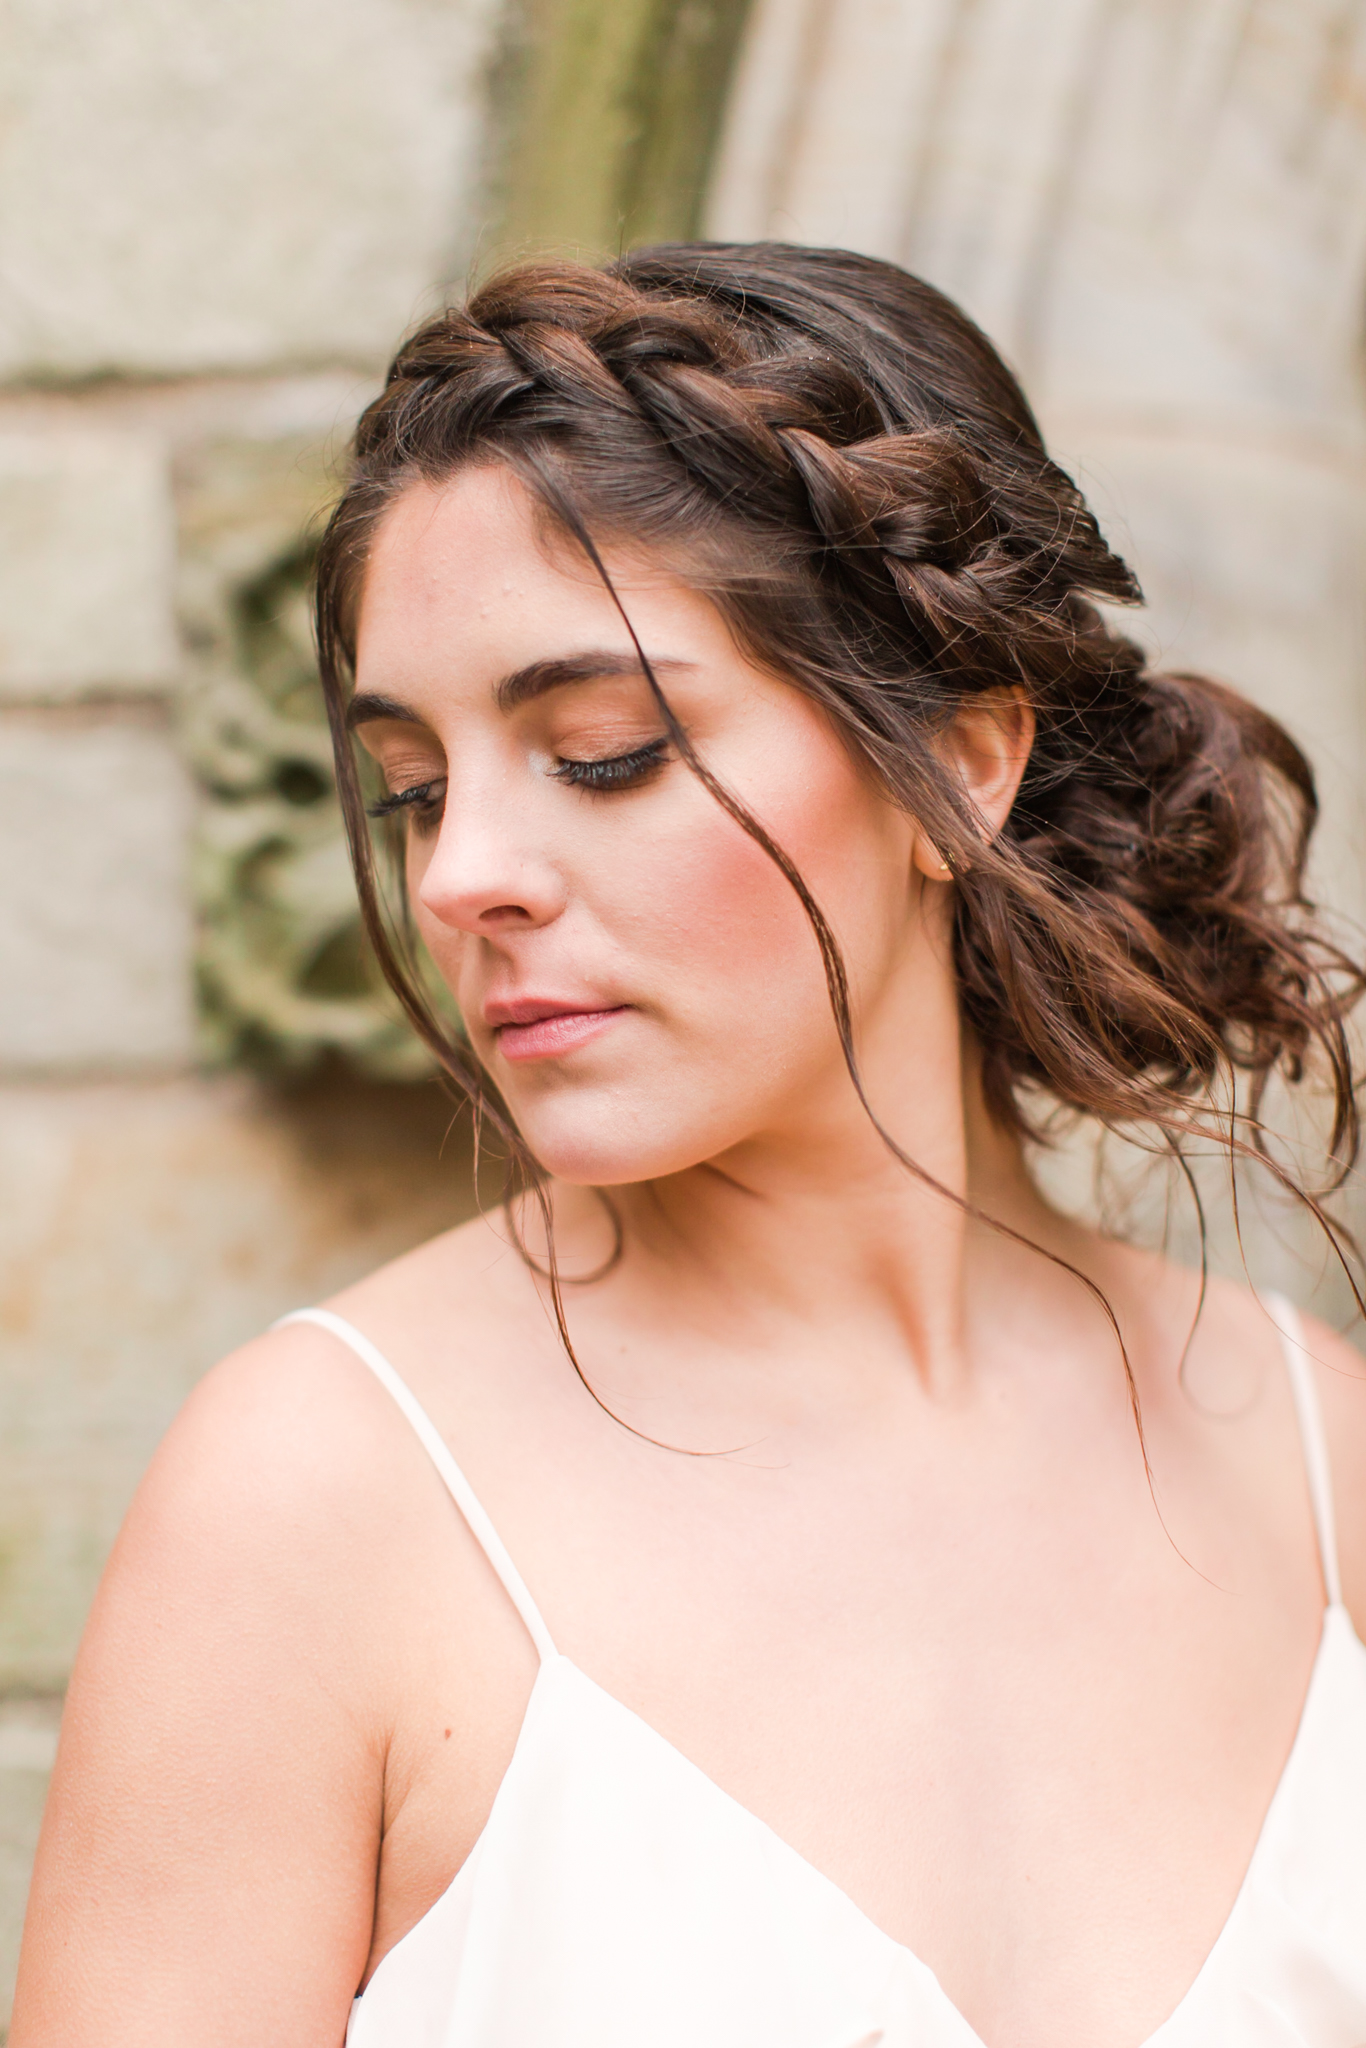
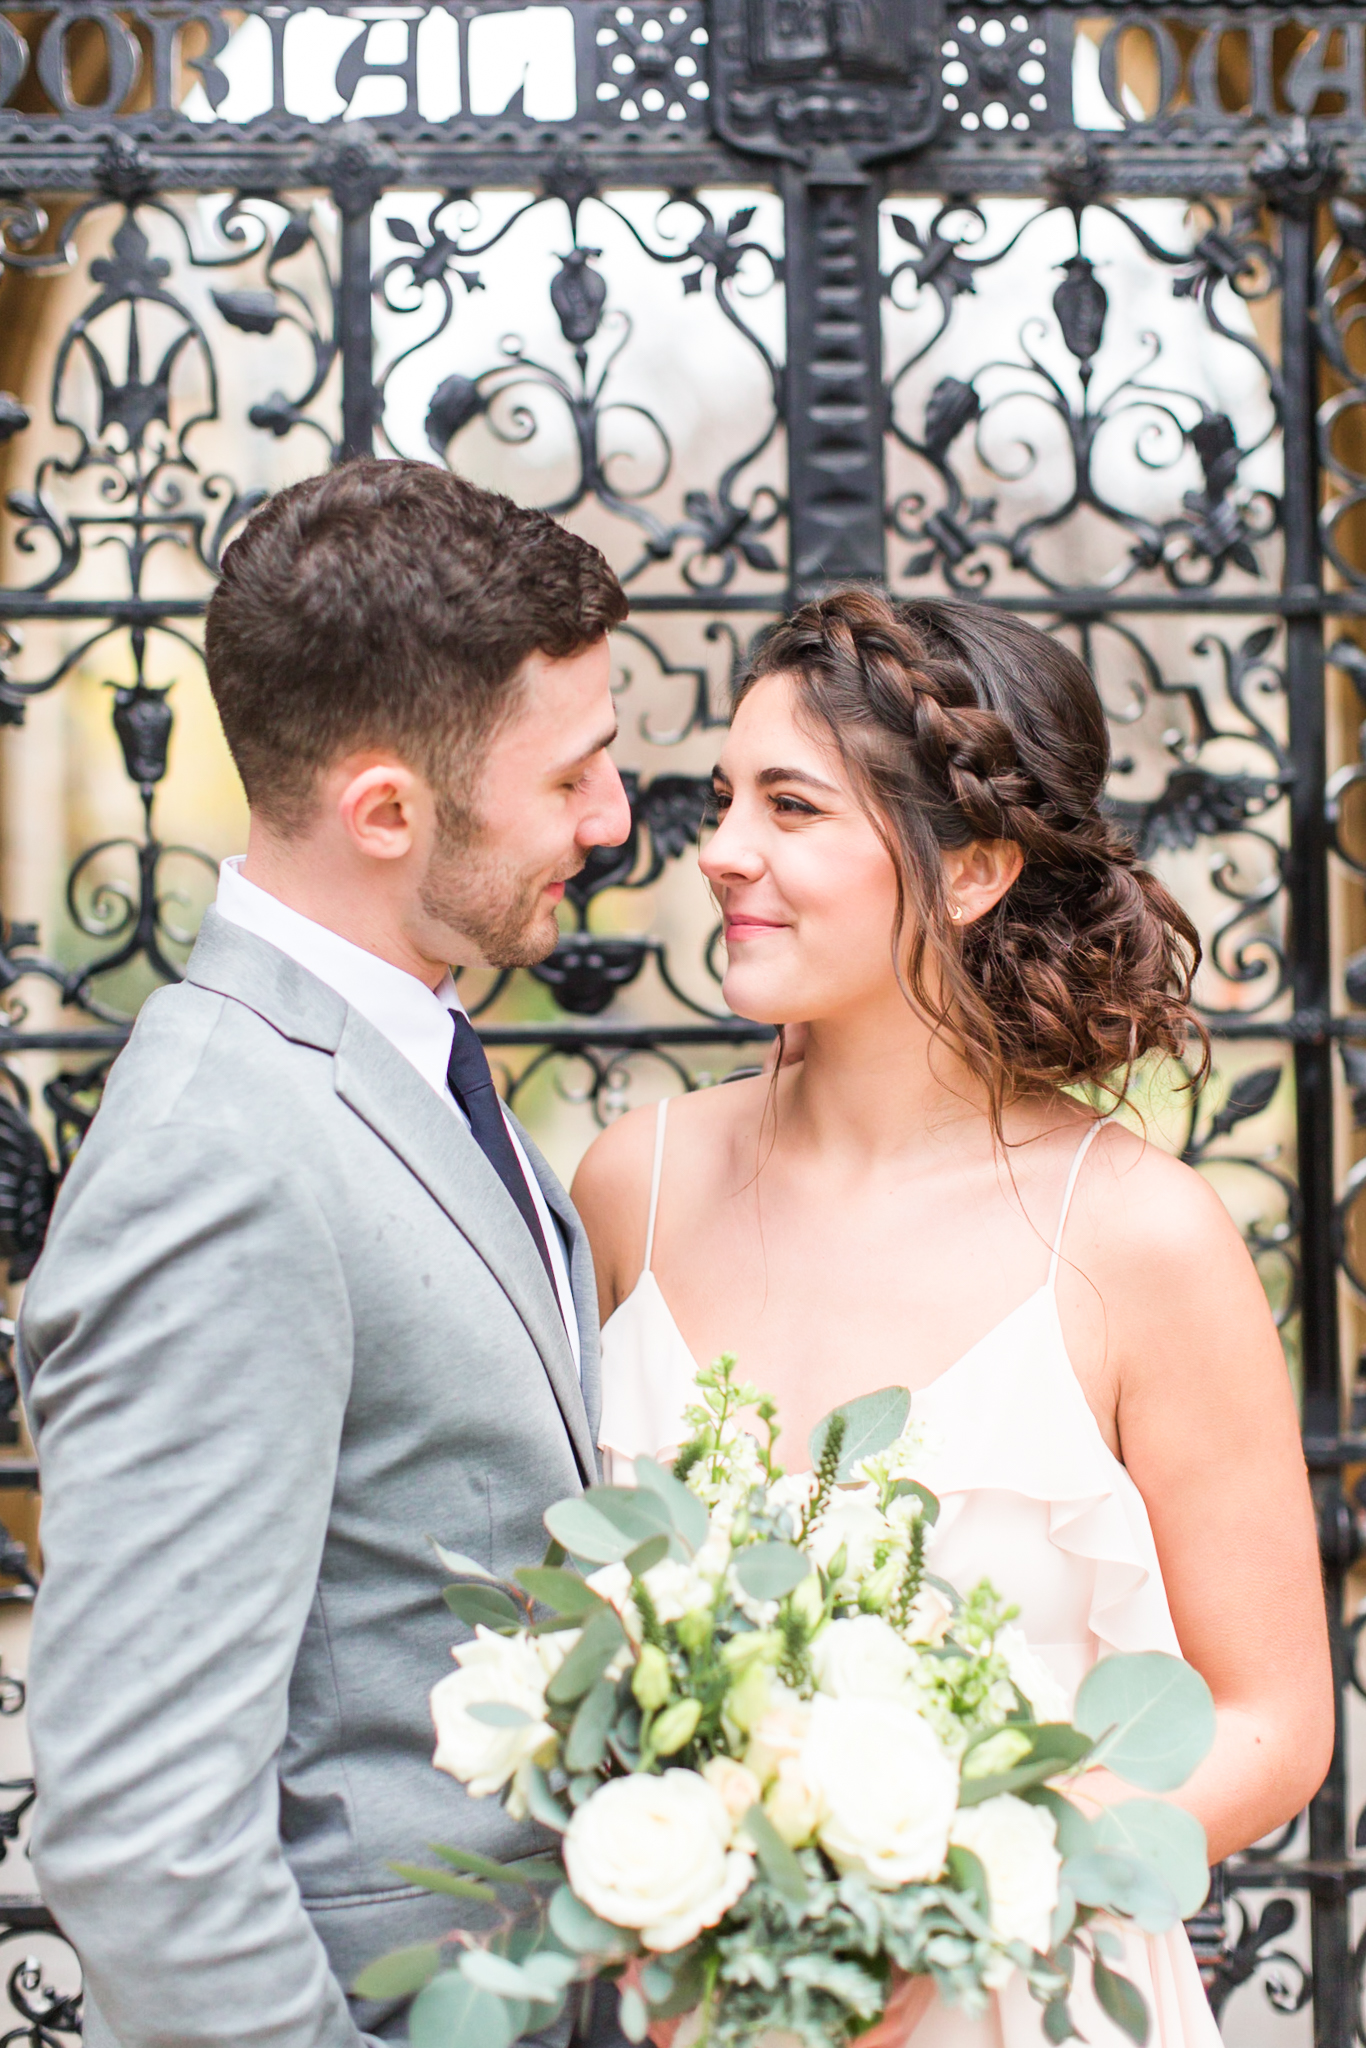

Knowing that the rain was coming, I decided to create this look with Temptu Hydra Lock Airbrush Foundation. Temptu's Hydra Lock foundation has a water-resistant formula, perfect for hot or rainy days.


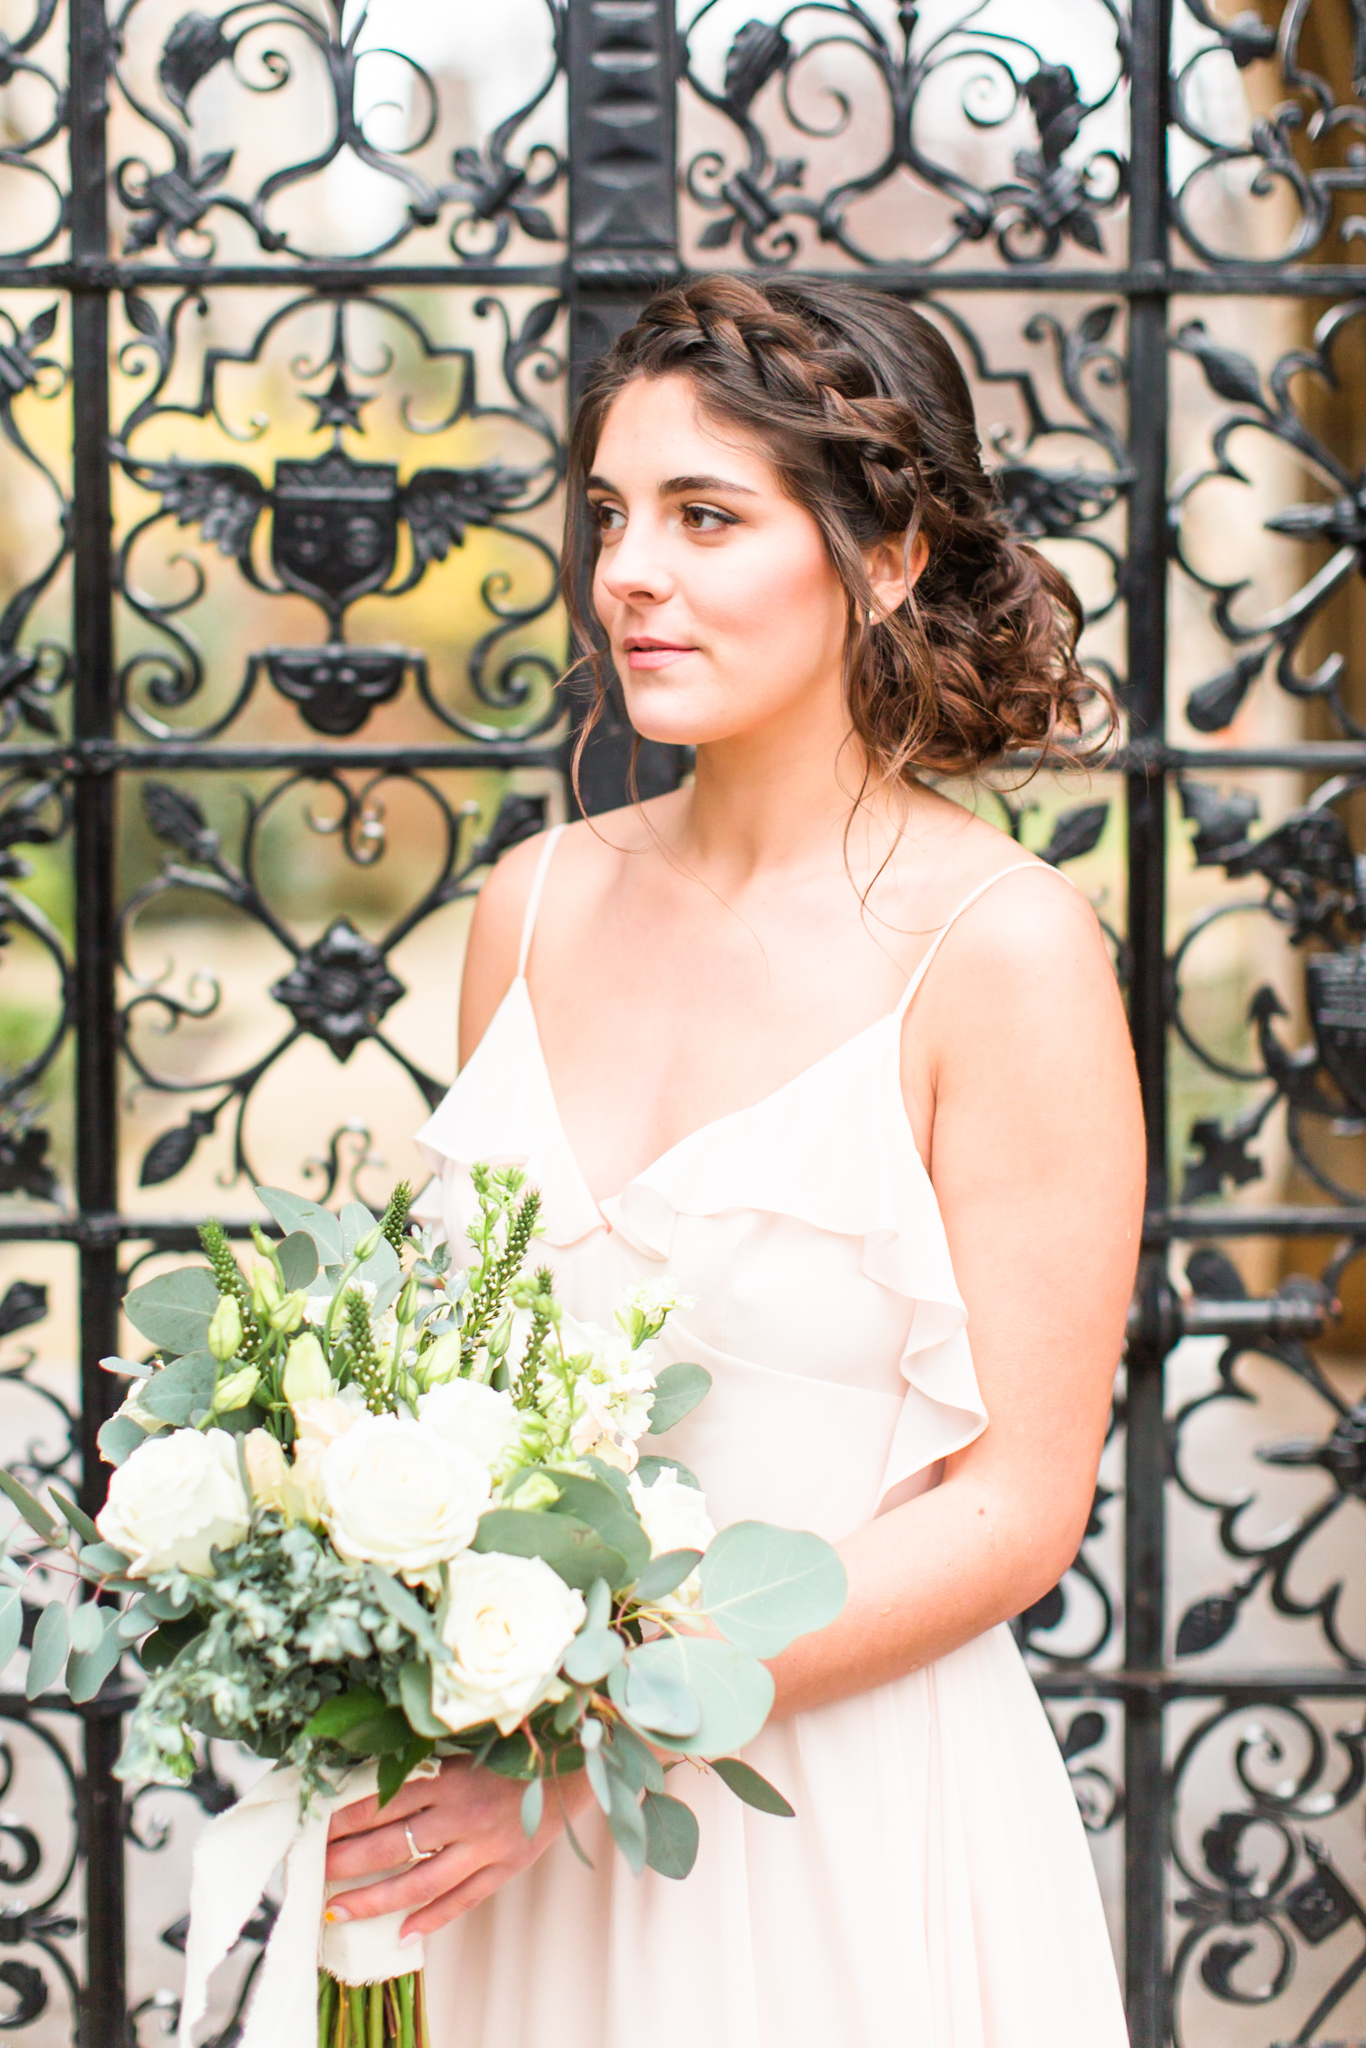


For Shannon's eye look, I chose a very light and ethereal design. The combination of peachy, champagne tones and barely-there winged liner leaves Shannon's beautiful features to be the star of the show.


Finally, I think I was able to create the most perfect bridal lip color with the combination of these two products:
MAC Cosmetics Satin Lipstick in 'Faux'
LORAC Alter Ego Lip Gloss in 'Bae'
CREATIVE TEAM
Photographer | Shaine Lee Photography
Makeup | Beauty by Chelsea Dae
Hair | Styles by Allyssa
Florals | Flowers by Danielle
Dress Boutique | Bella Bridesmaids
Dress | Monique Lhuillier
Last month, I had the privilege to work with two amazing women on a personal branding photoshoot! Jodi is a psychotherapist and life coach and she needed new photos for her New Haven based business. Samantha is the photographer who captured the amazing, bright, and fun images of Jodi. I love working with strong women in business so this was definitely a fun shoot for me!
The two images below are ones I captured on my cell phone in the studio, before the actual photoshoot commenced. Here you can see all of the makeup details up close.

Here are some of the products I used to create this look:
And now for the best part...Samantha's Photos!

As you may have guessed, this first photo is my favorite. First off, can we look at that latte?! YUM! Second, I feel like this photo really shows all of the makeup details up close!

Don't you just love how happy and friendly Jodi looks in this photo? Samantha did an amazing job of capturing her true spirit.

I hope you enjoyed this post! I truly enjoyed working on this shoot. If you are ever in need of makeup and hair for your personal branding shoot, or any shoot for that matter, I'd love to work with you! Please click here to send me a message!
Below I have linked both Samantha's and Jodi's websites:
Take a moment to check out my most recent YouTube video! It is a haul, tutorial, and first impressions using Colourpop Cosmetics products!
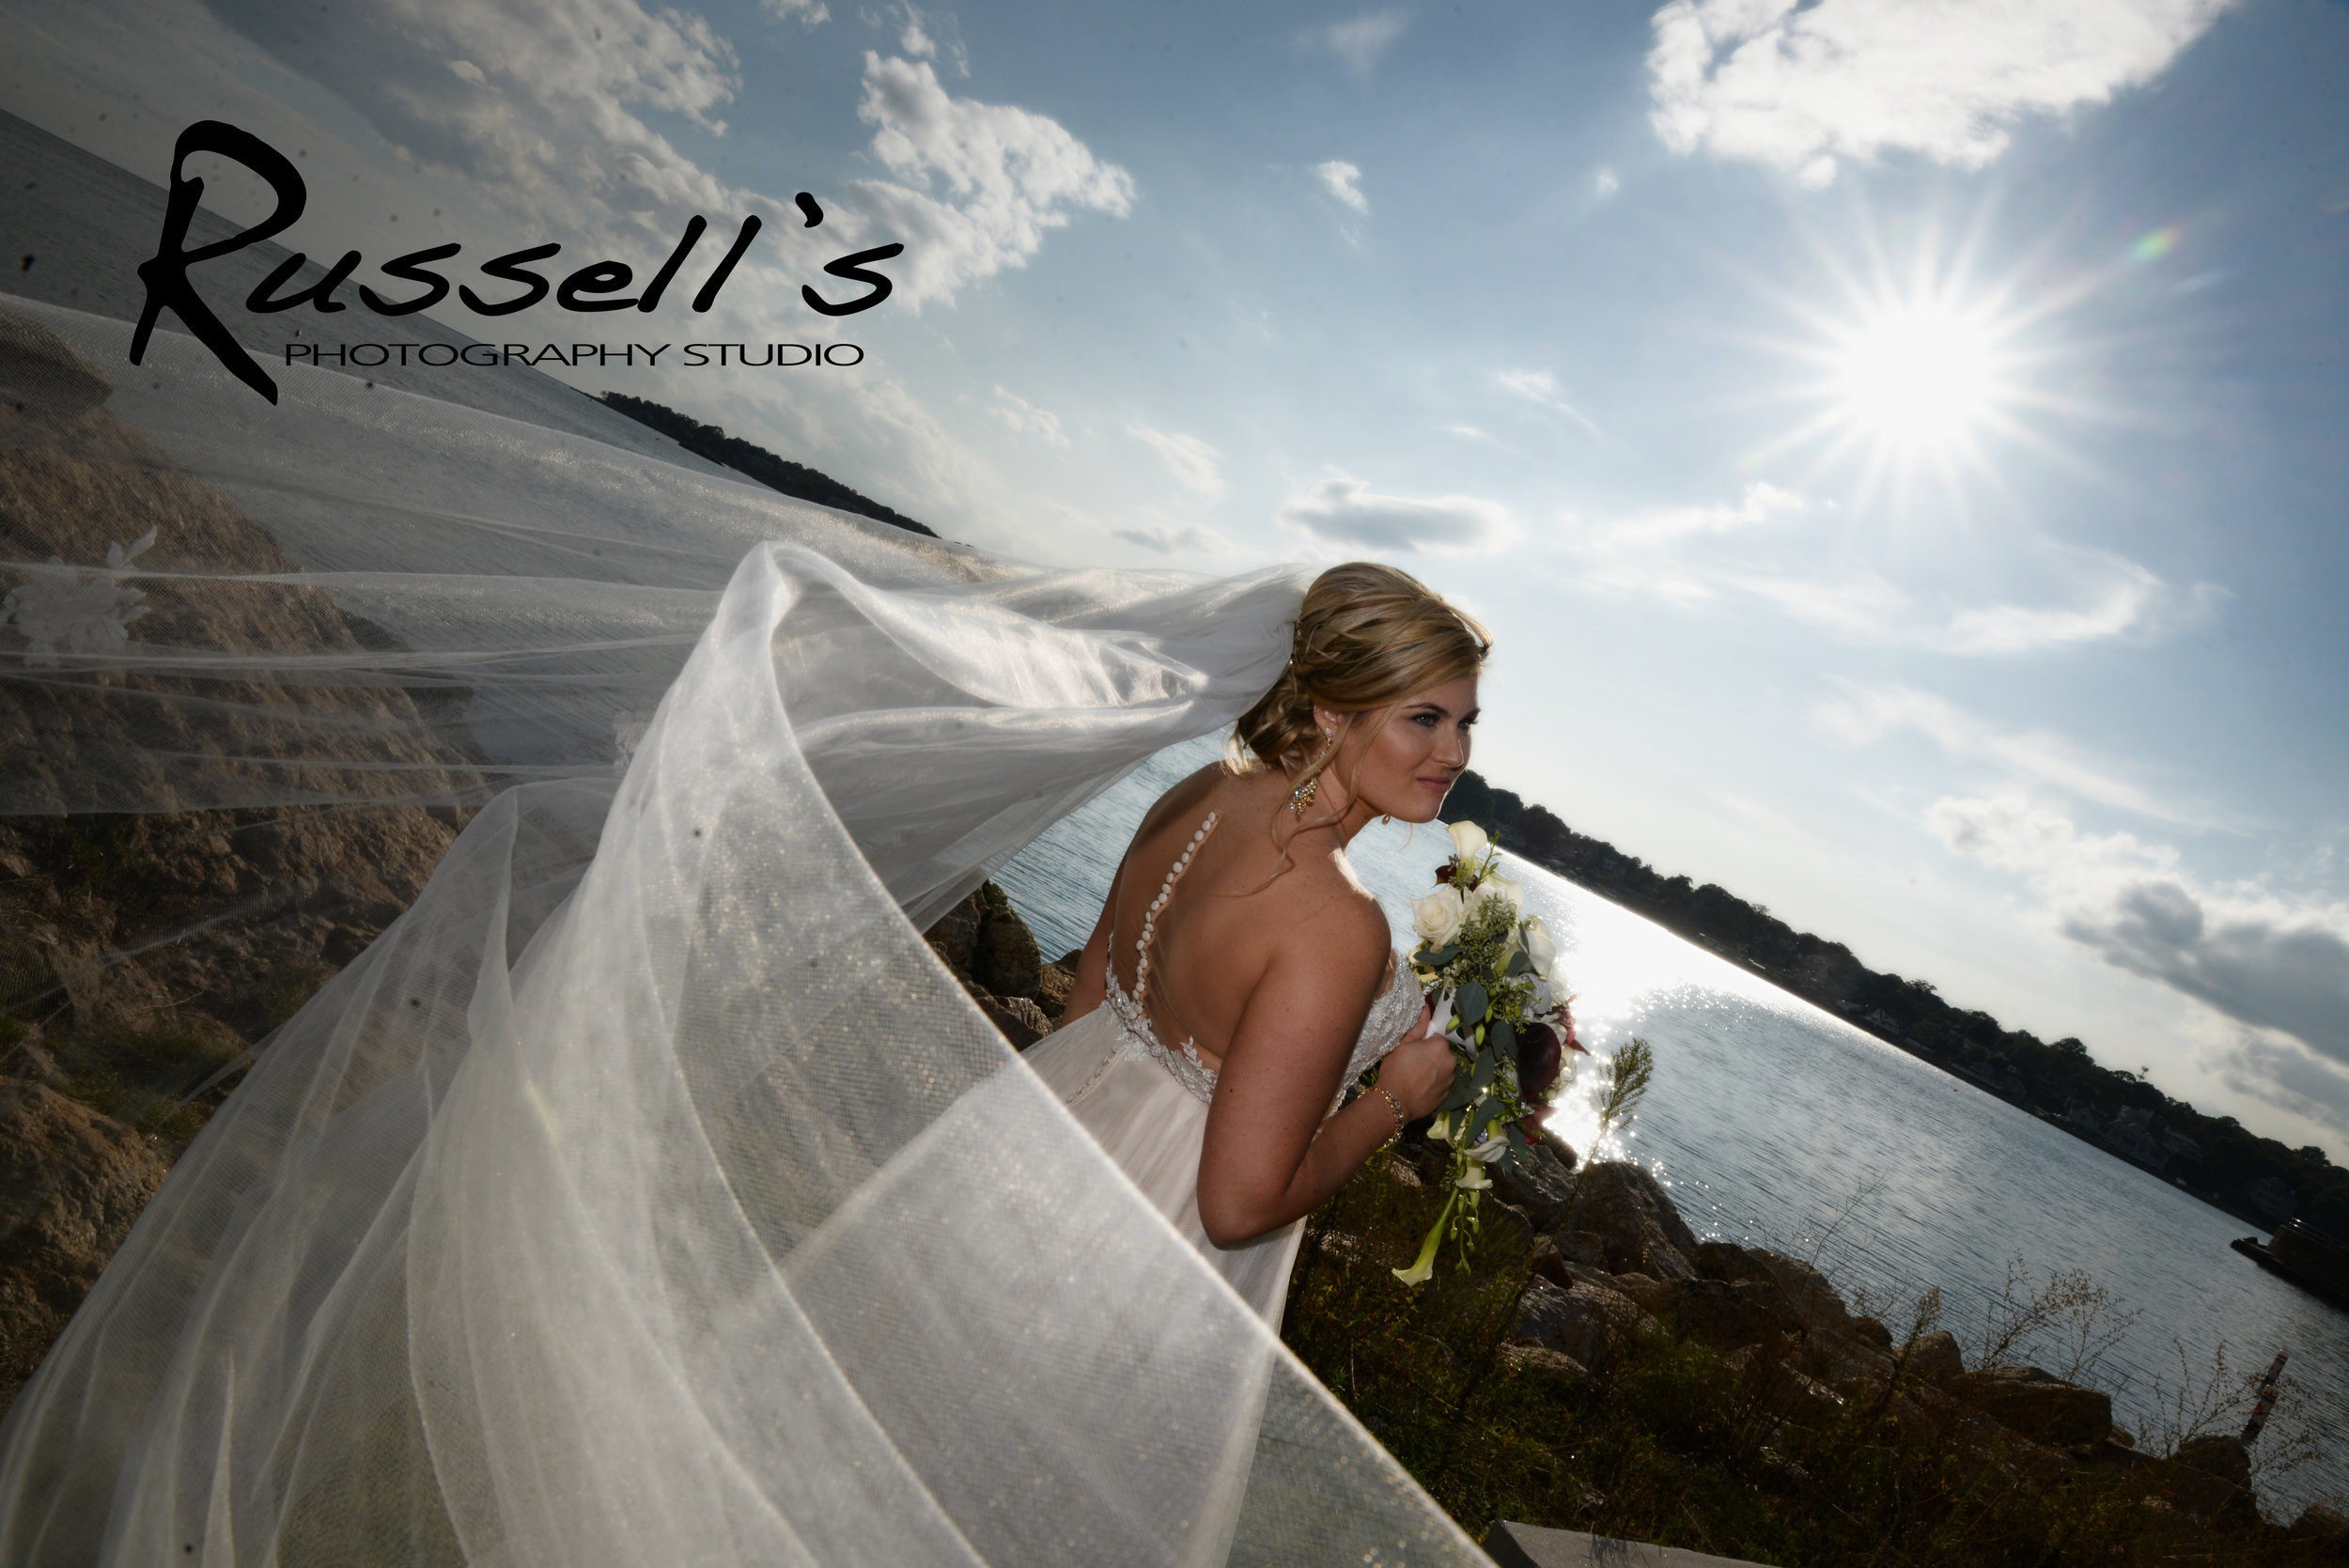
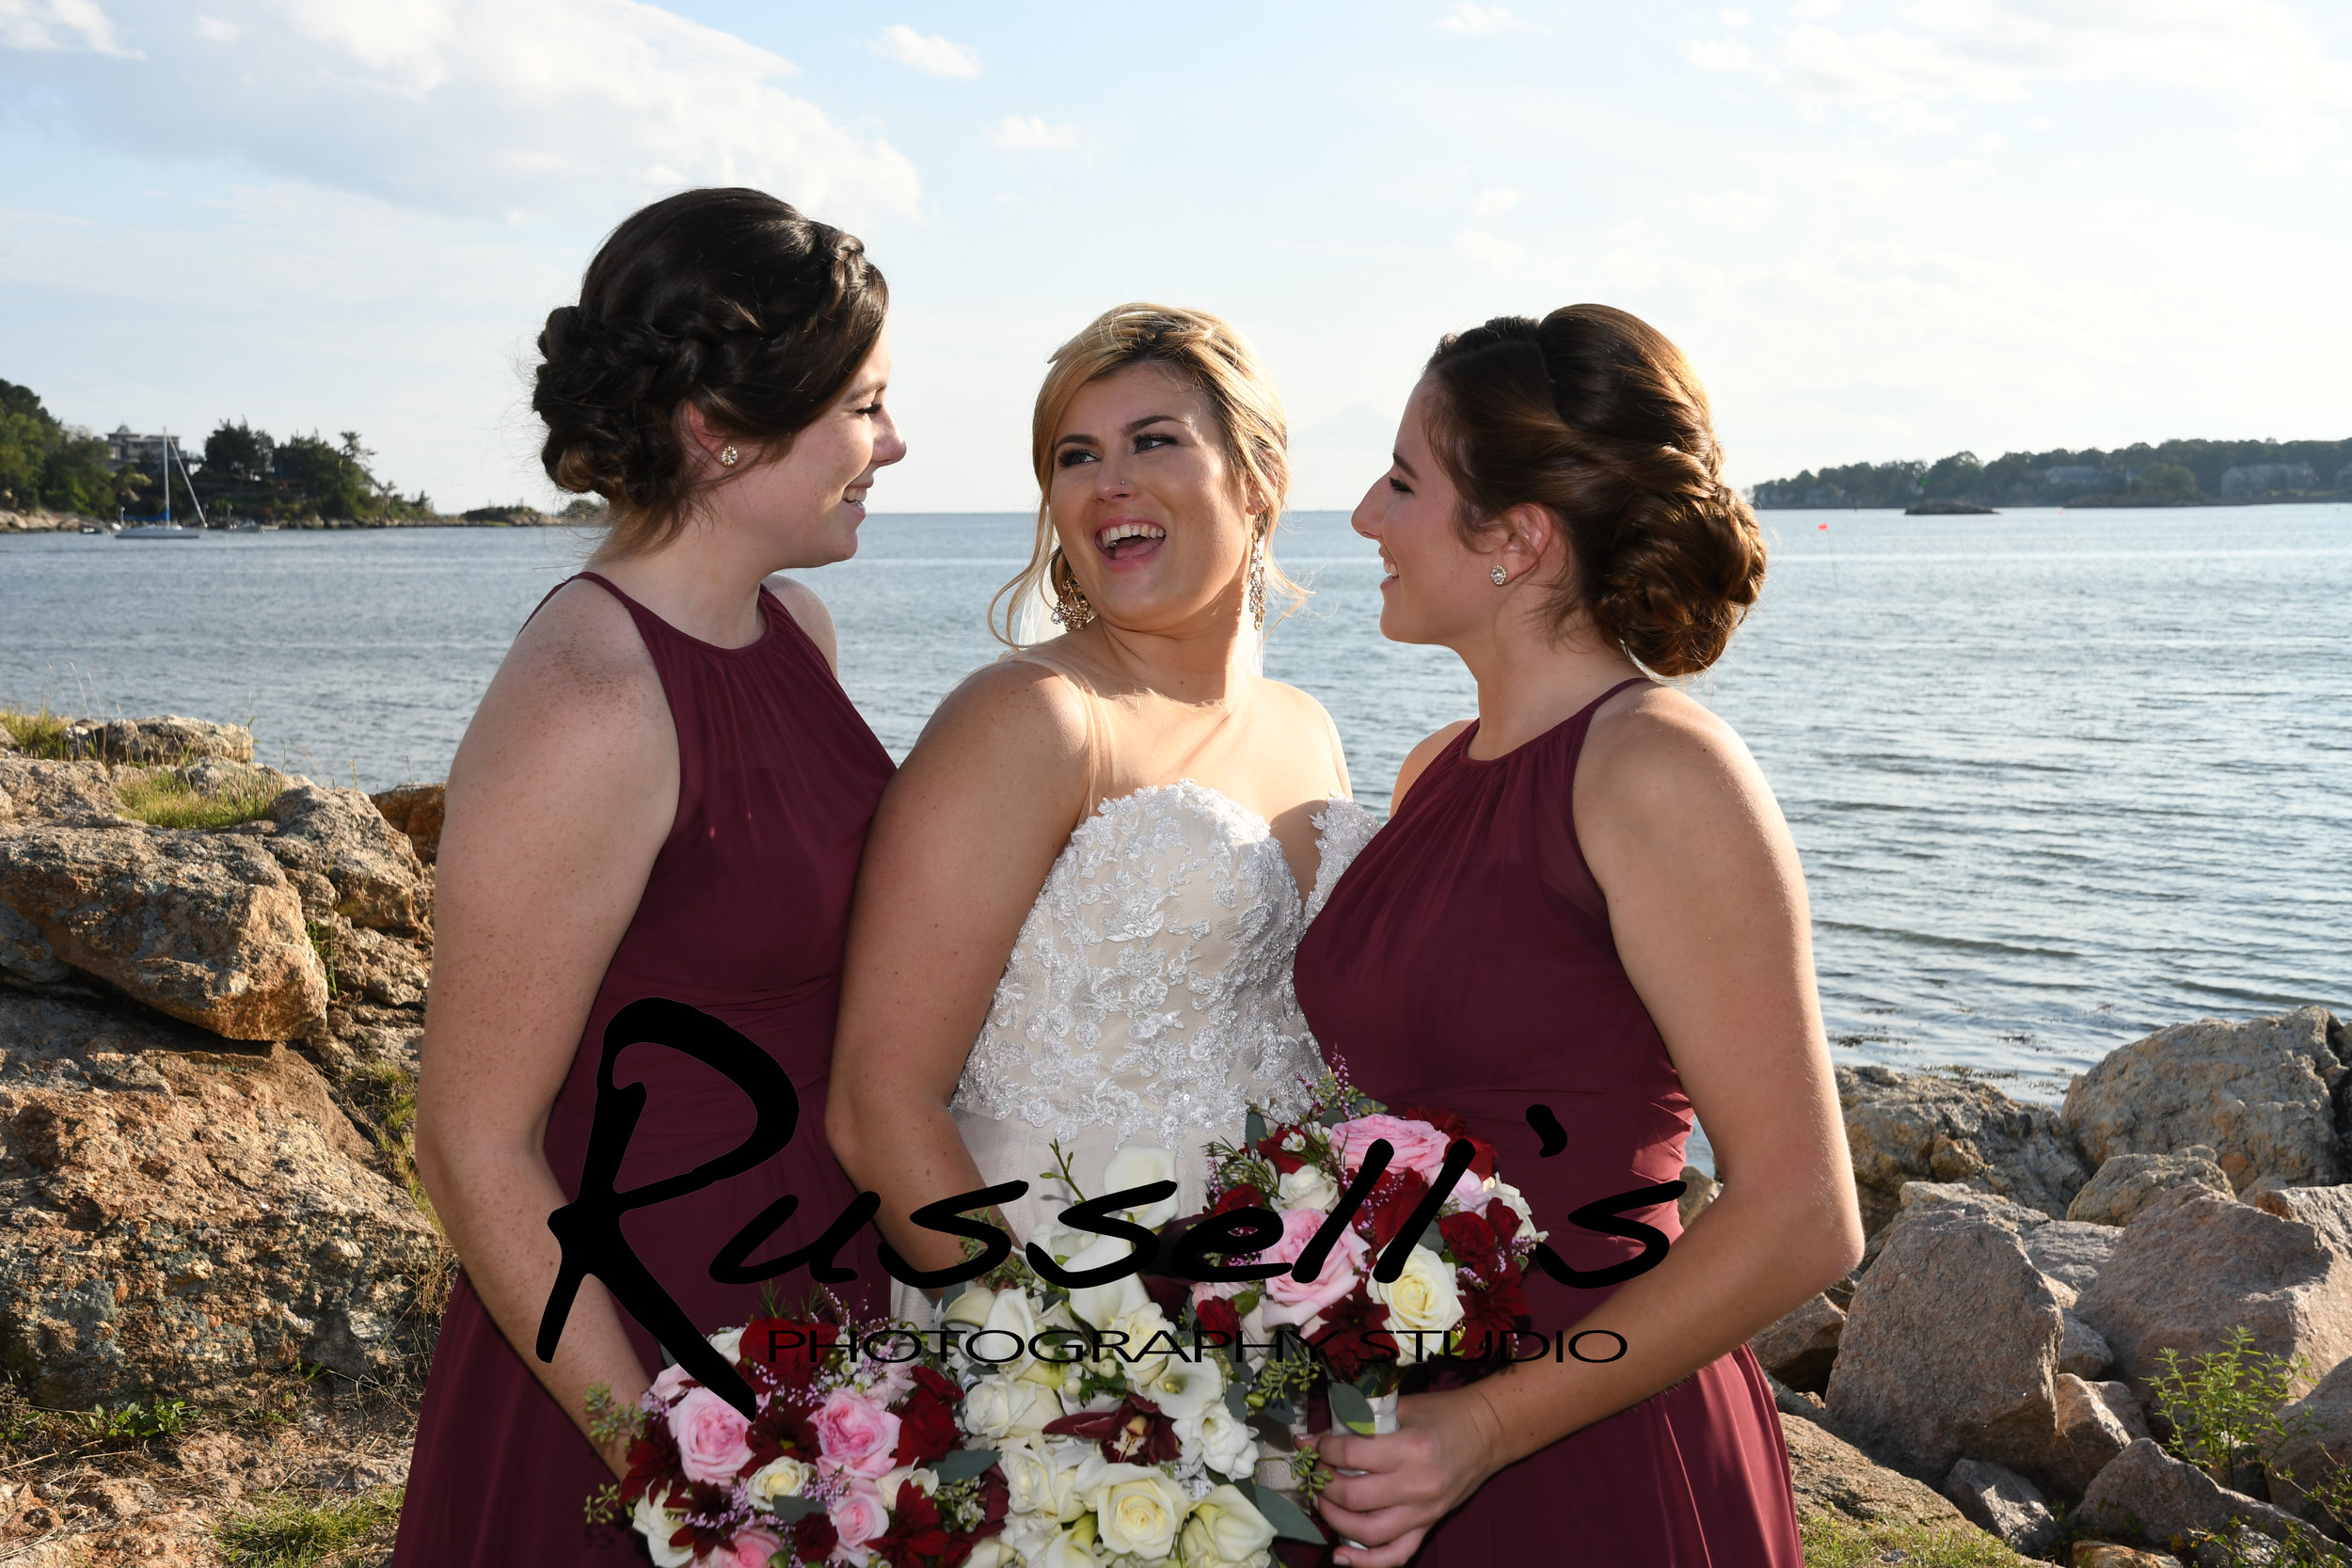
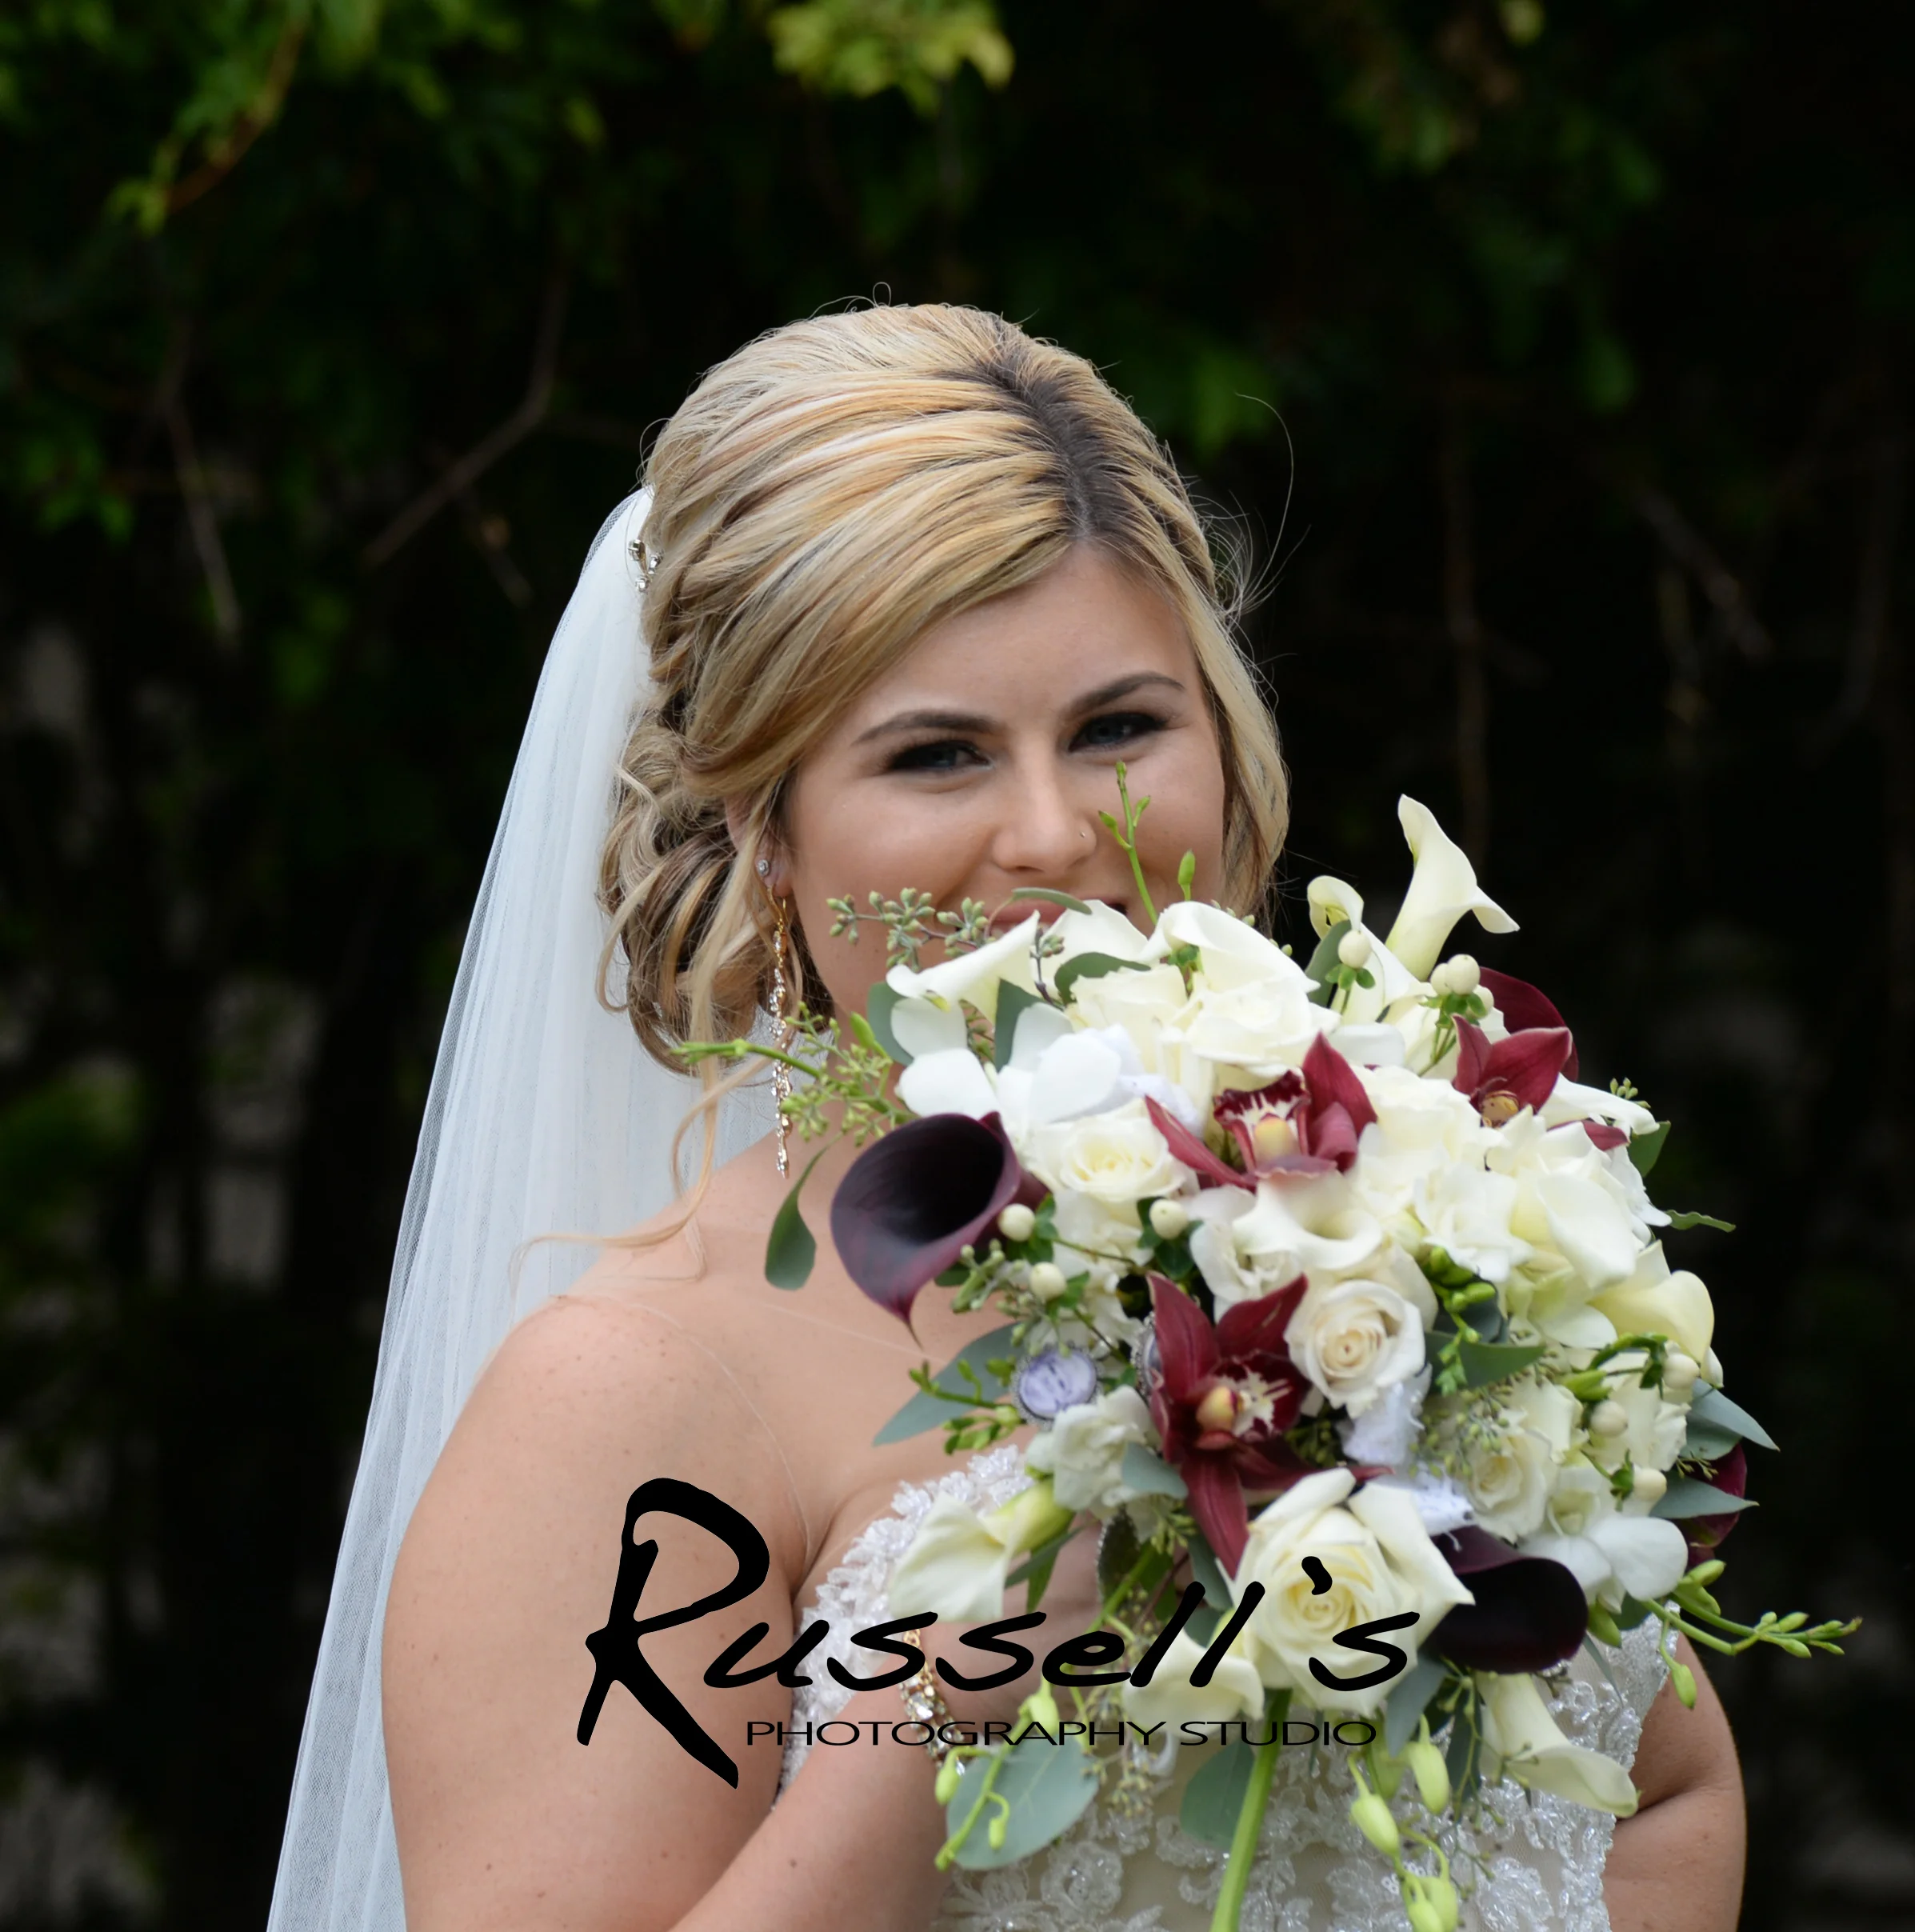
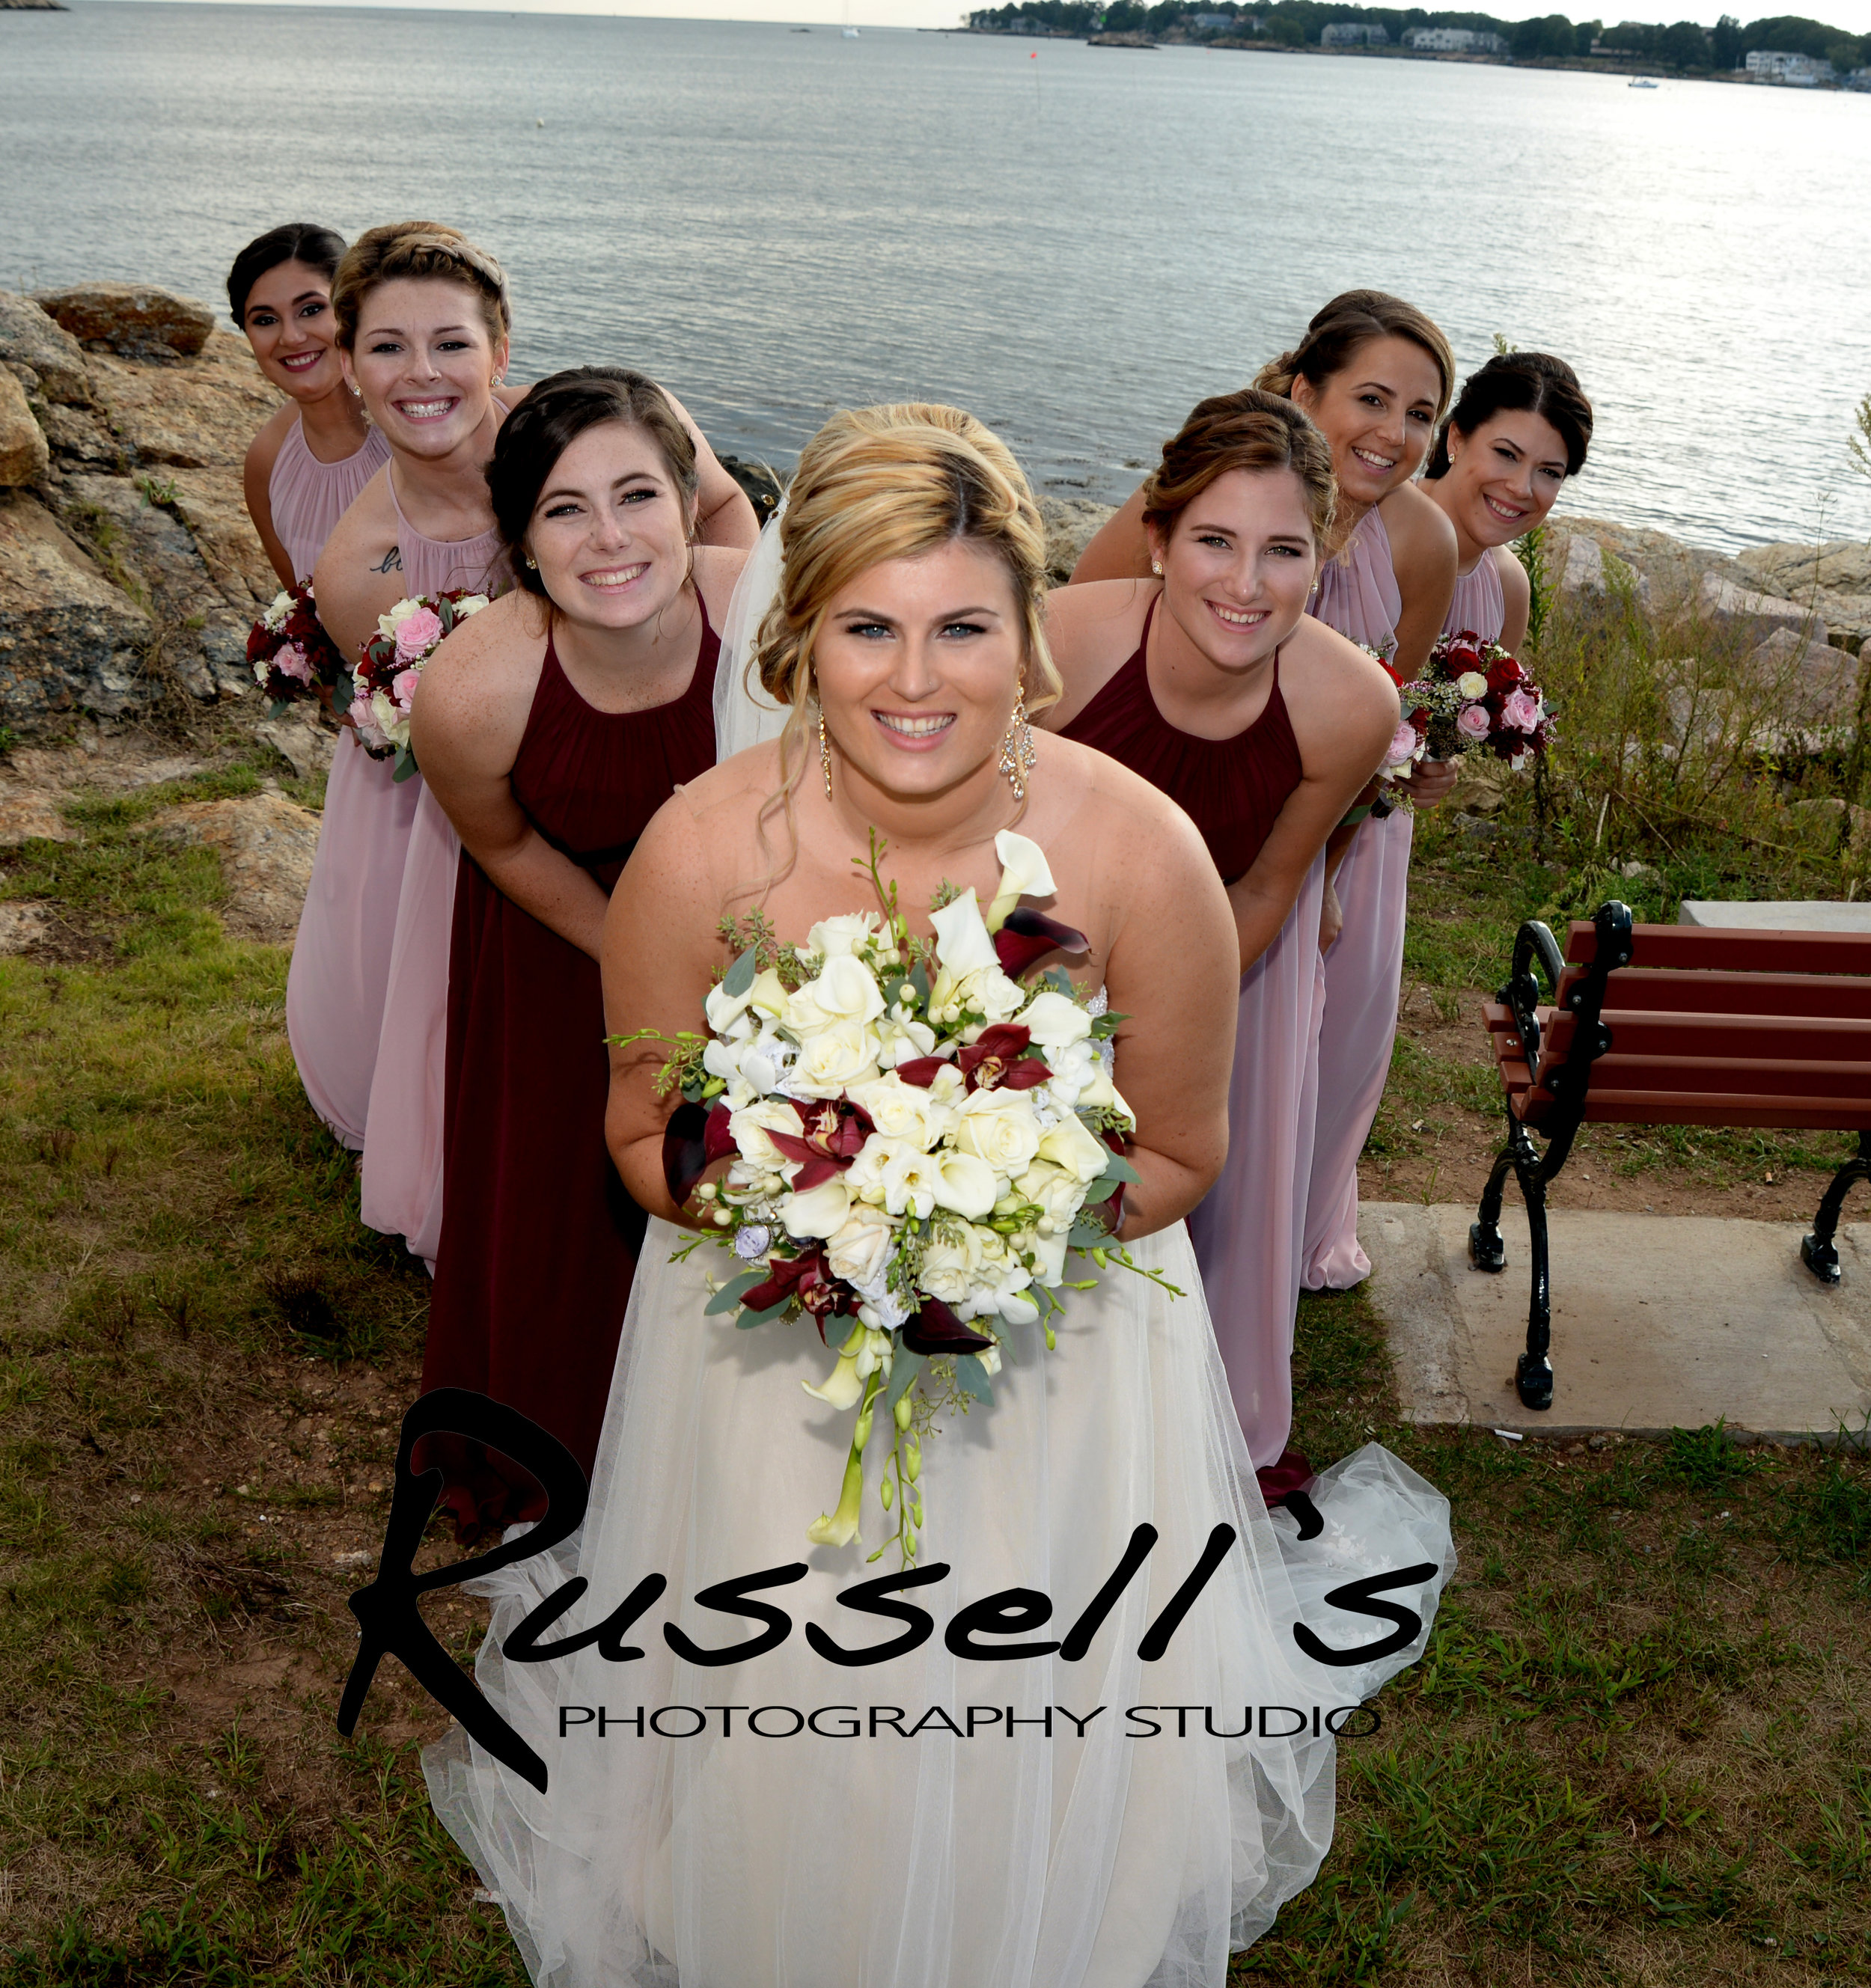
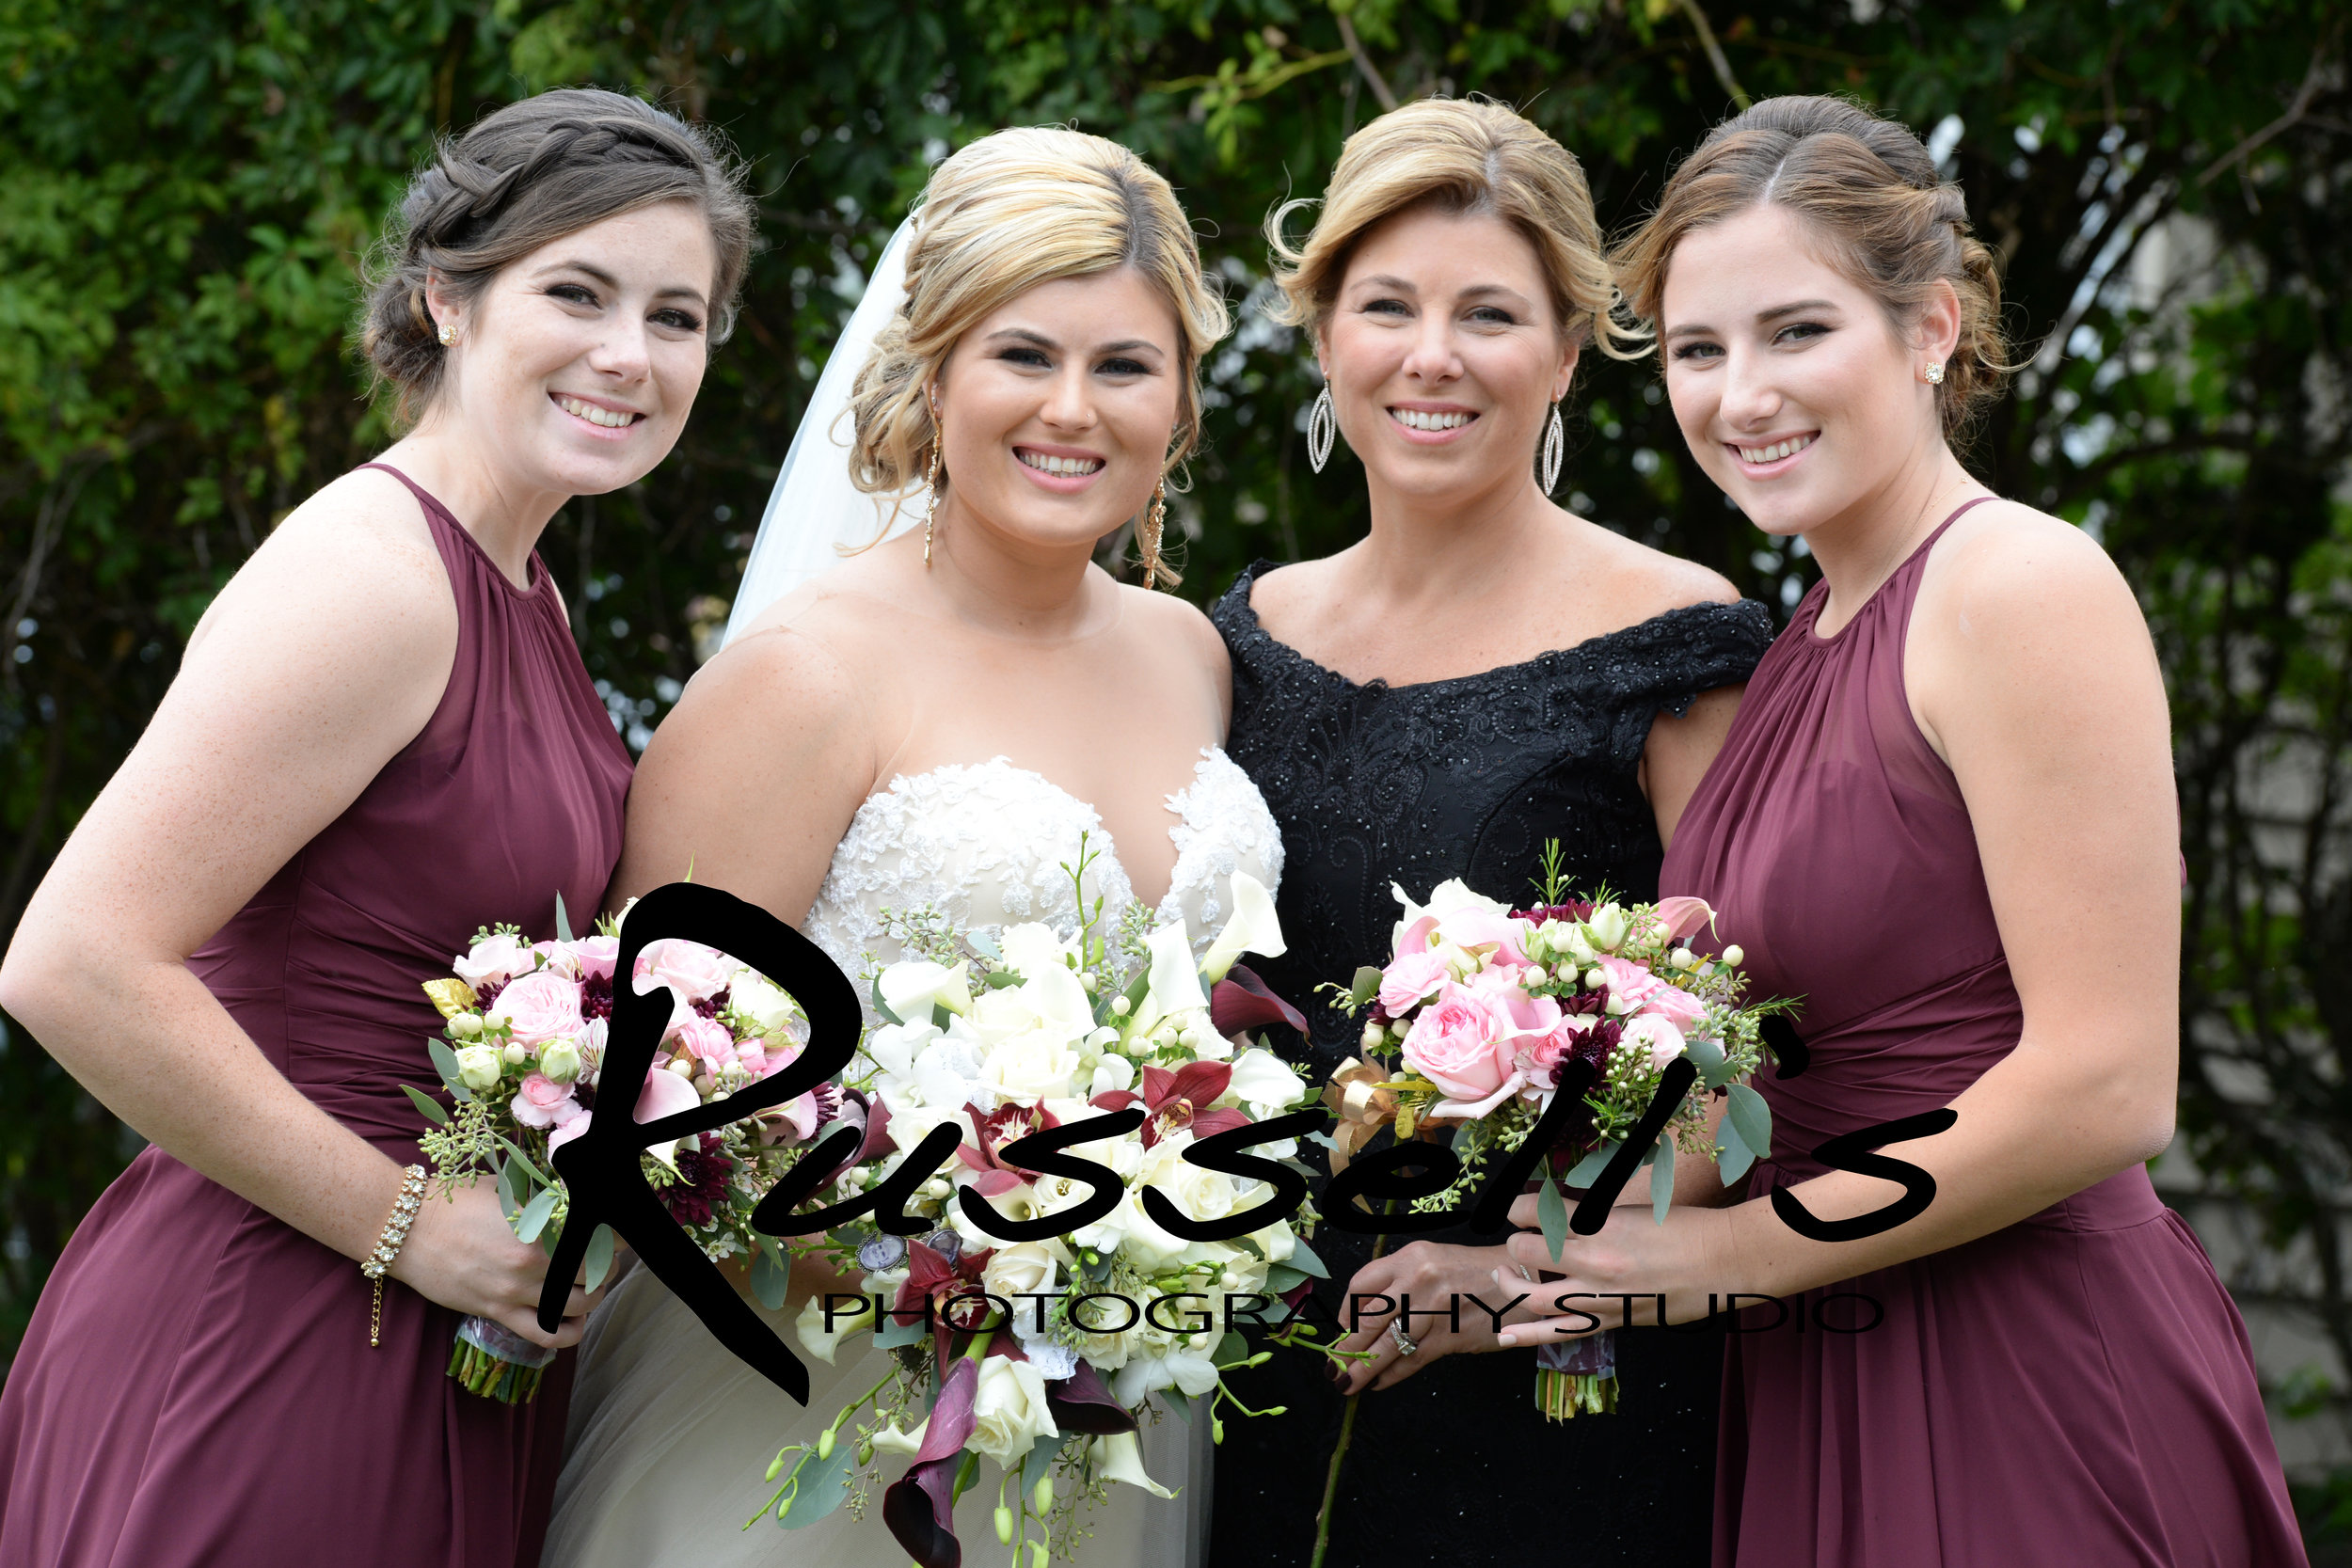
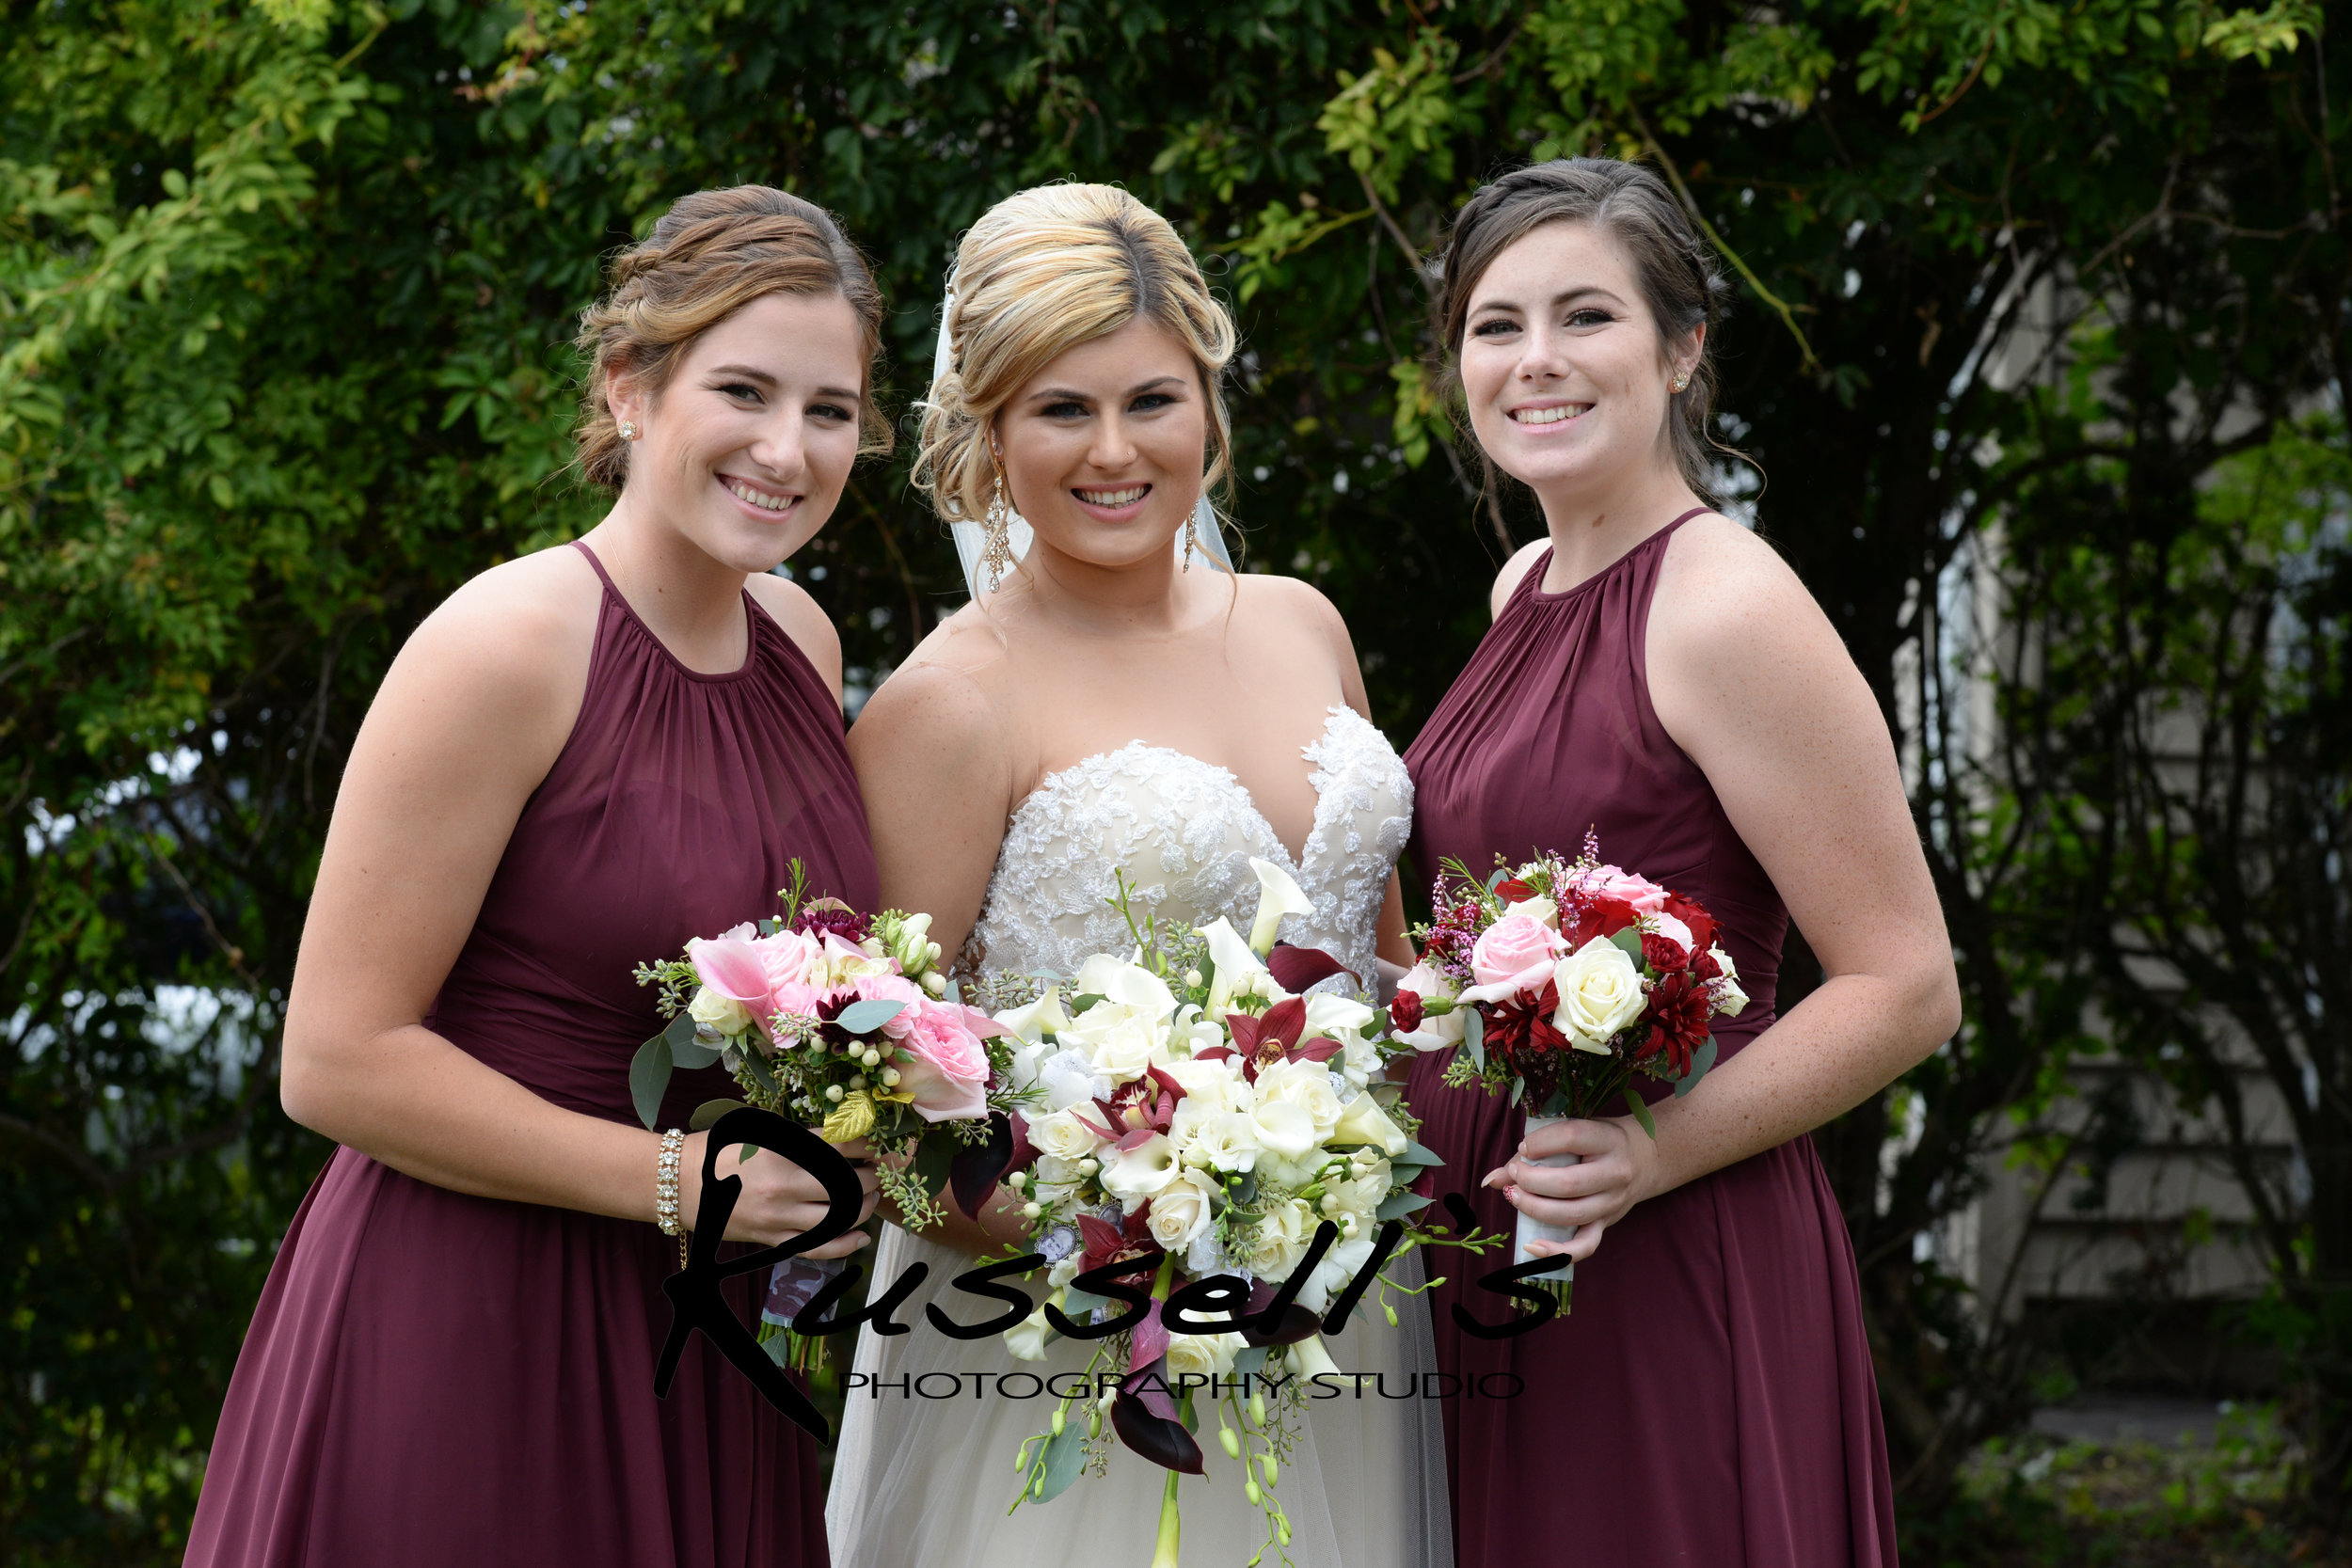
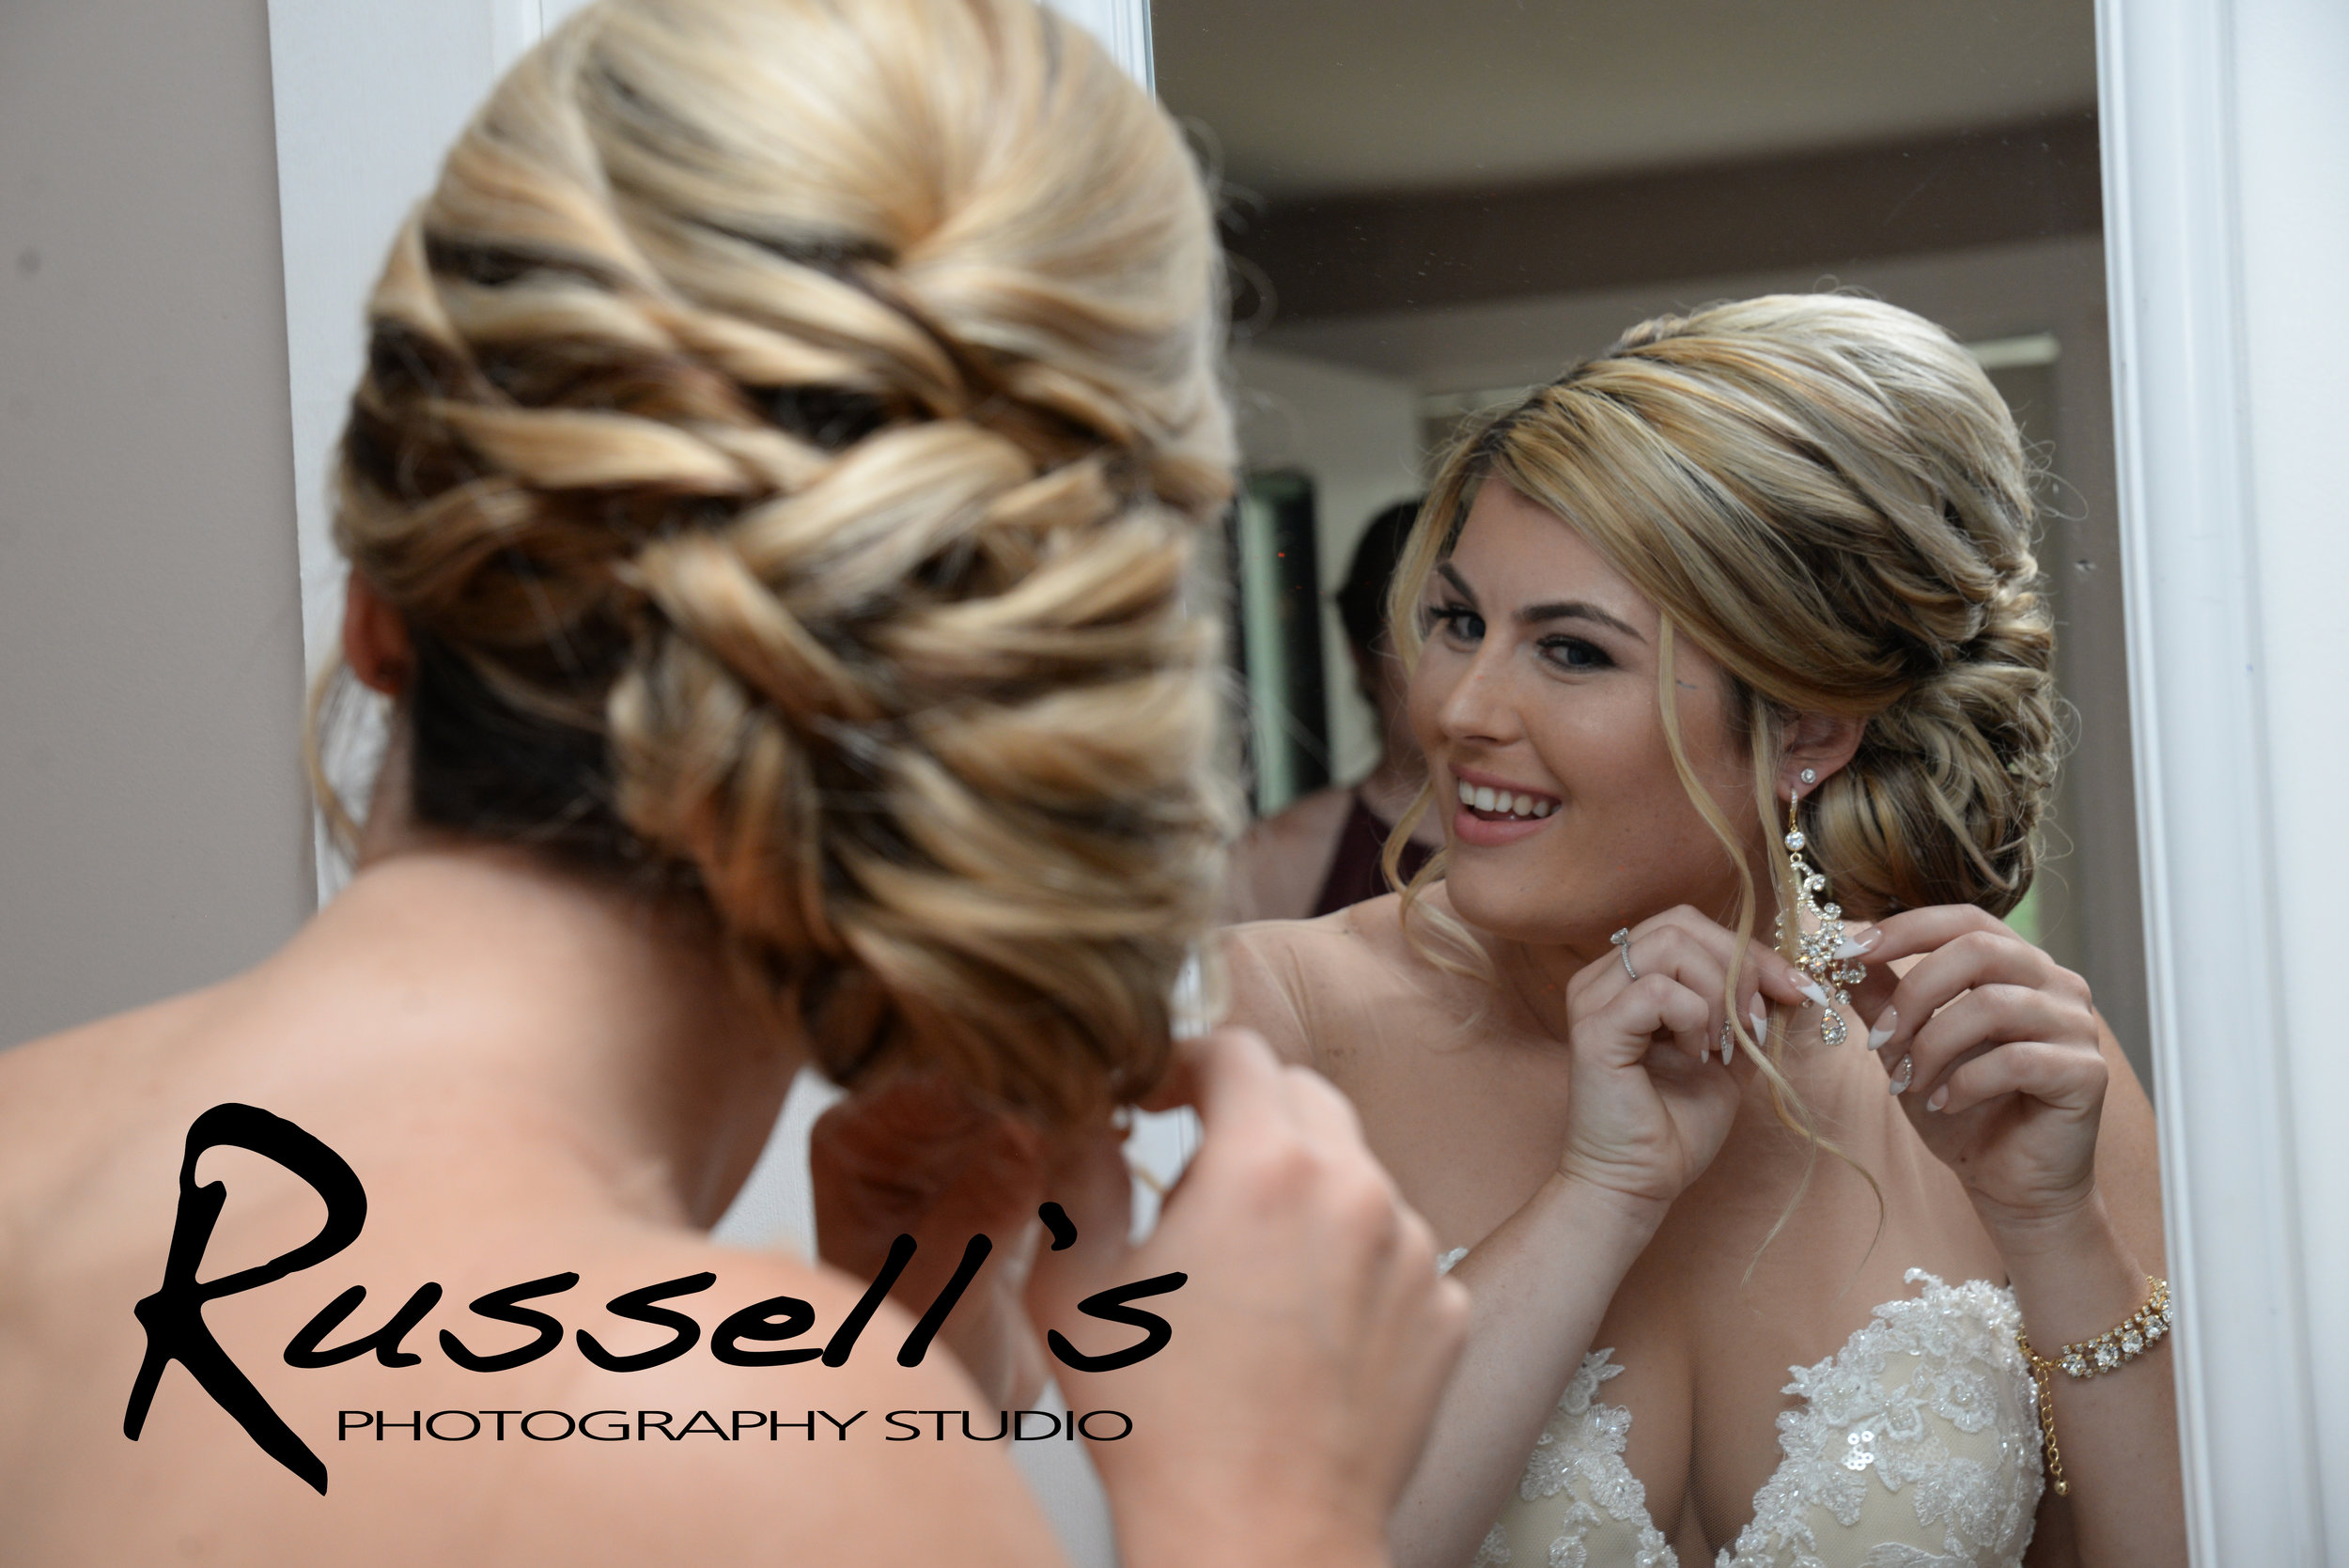
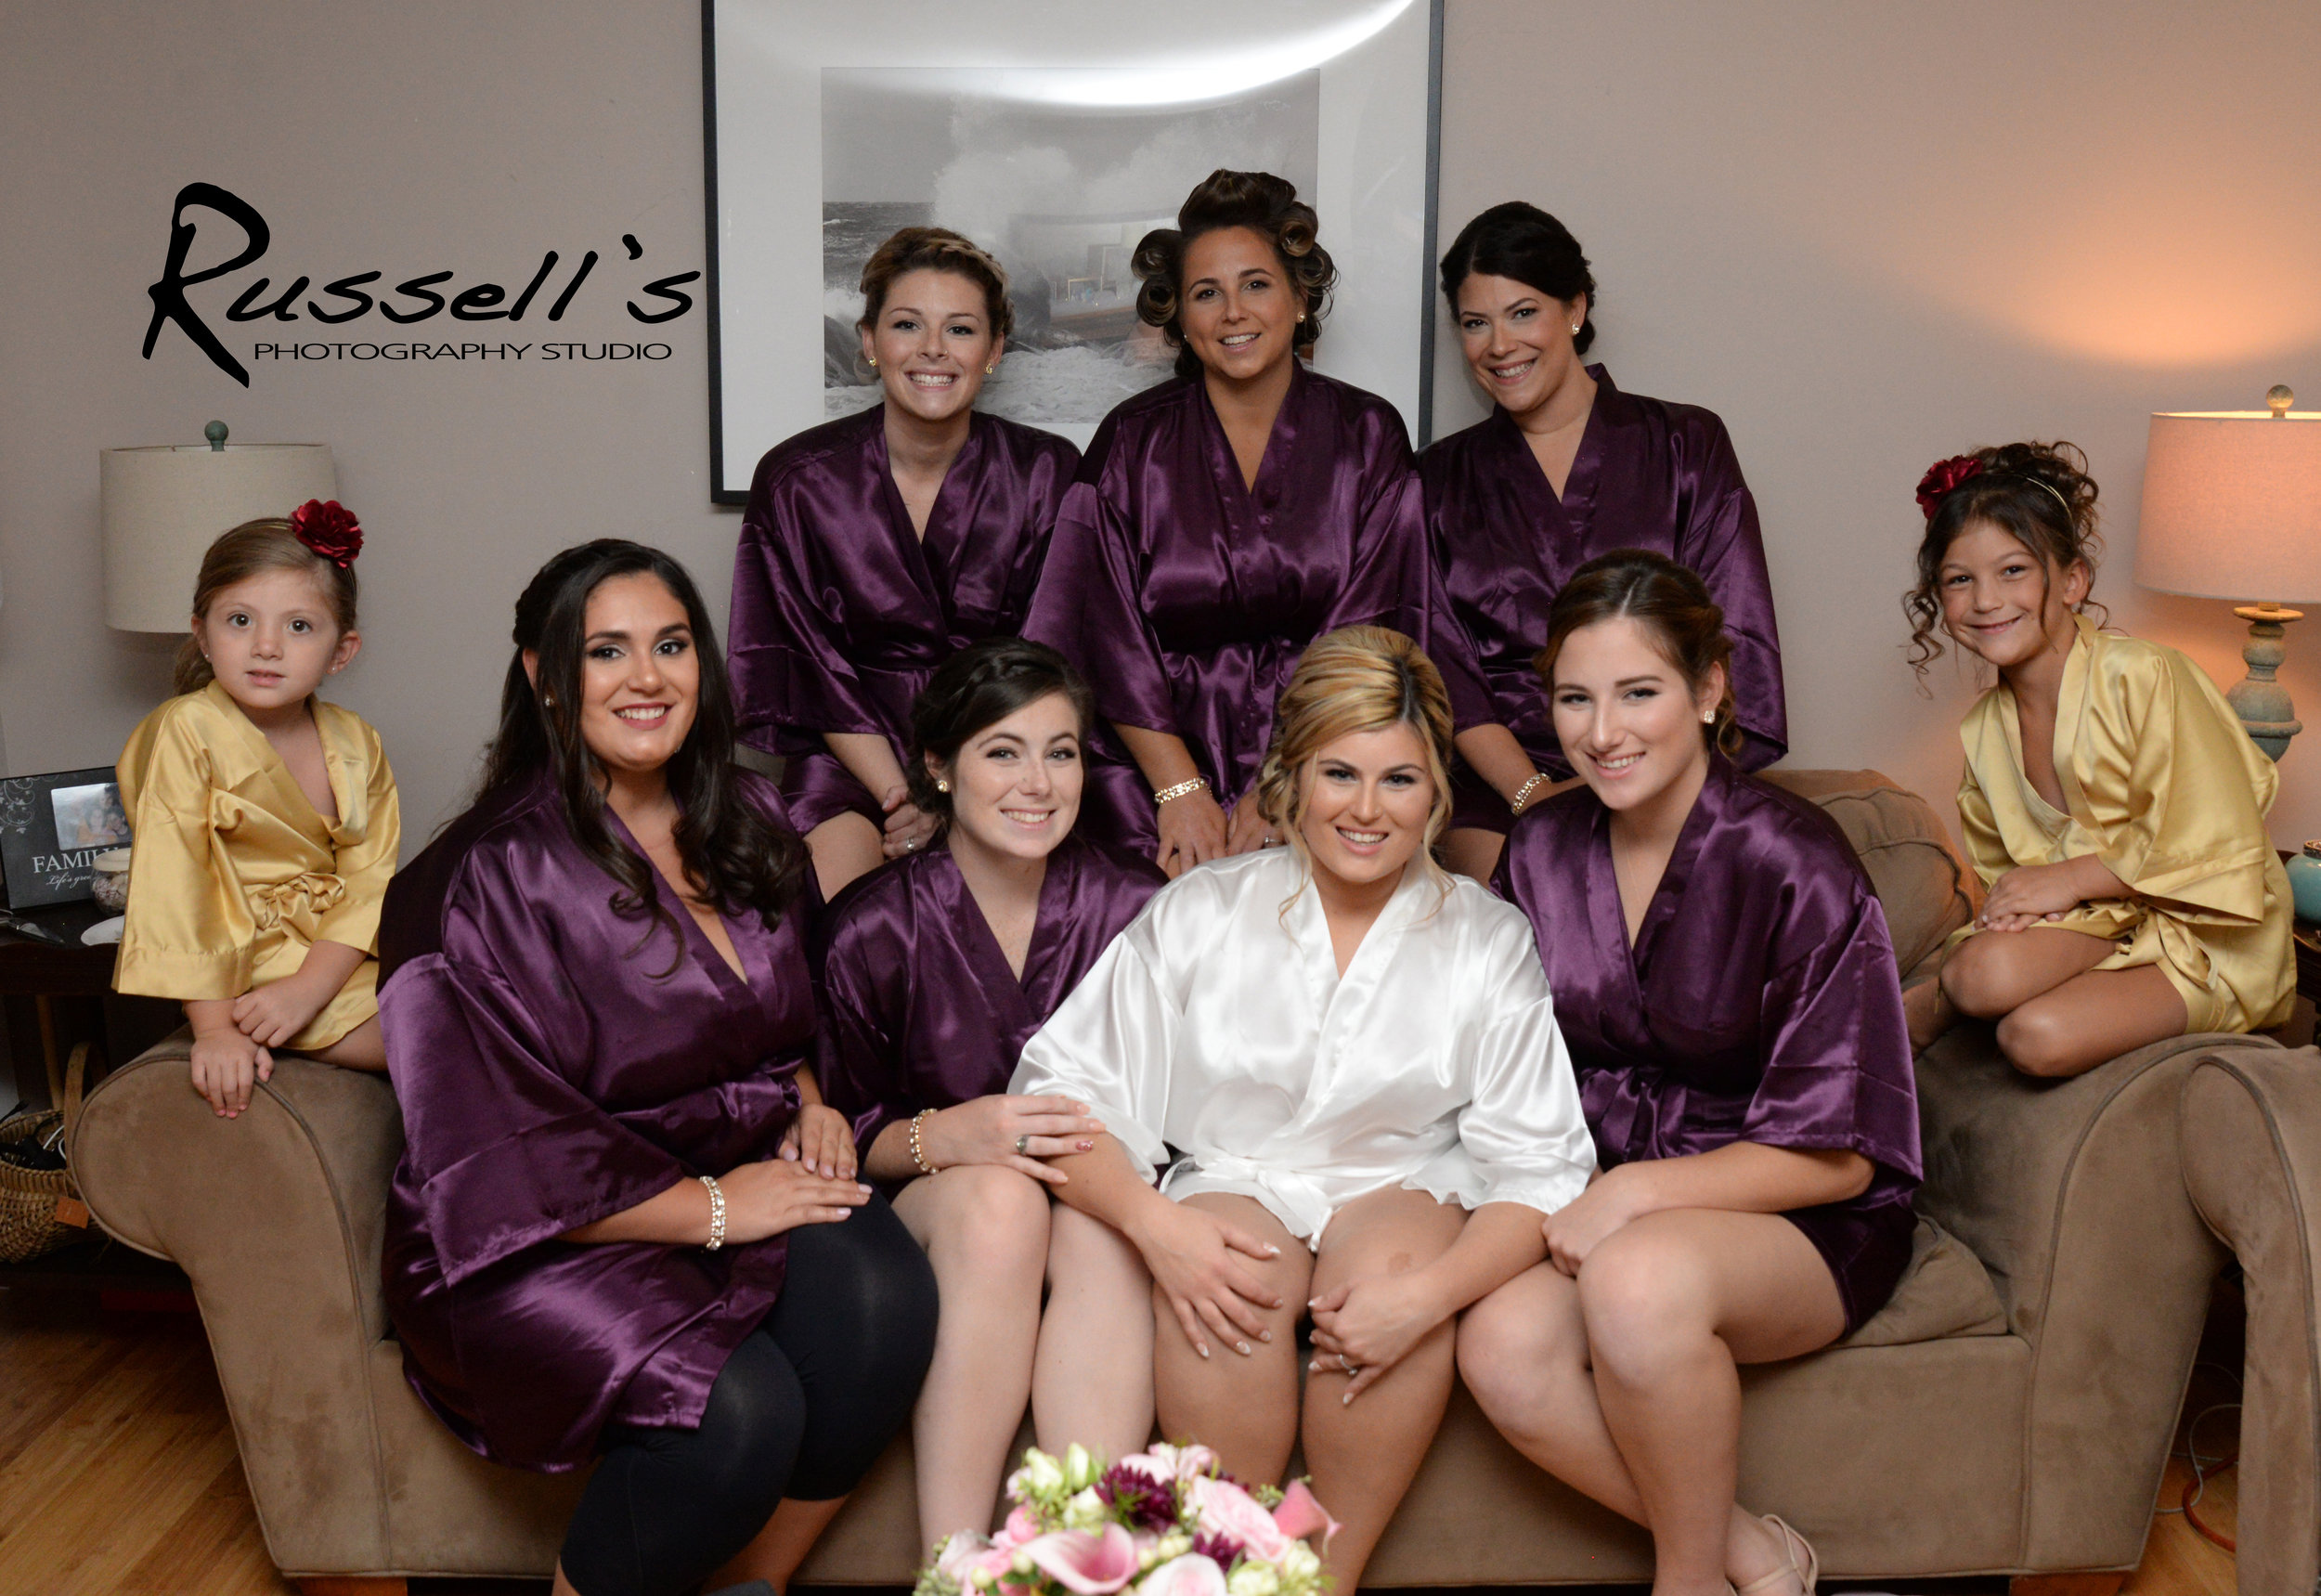
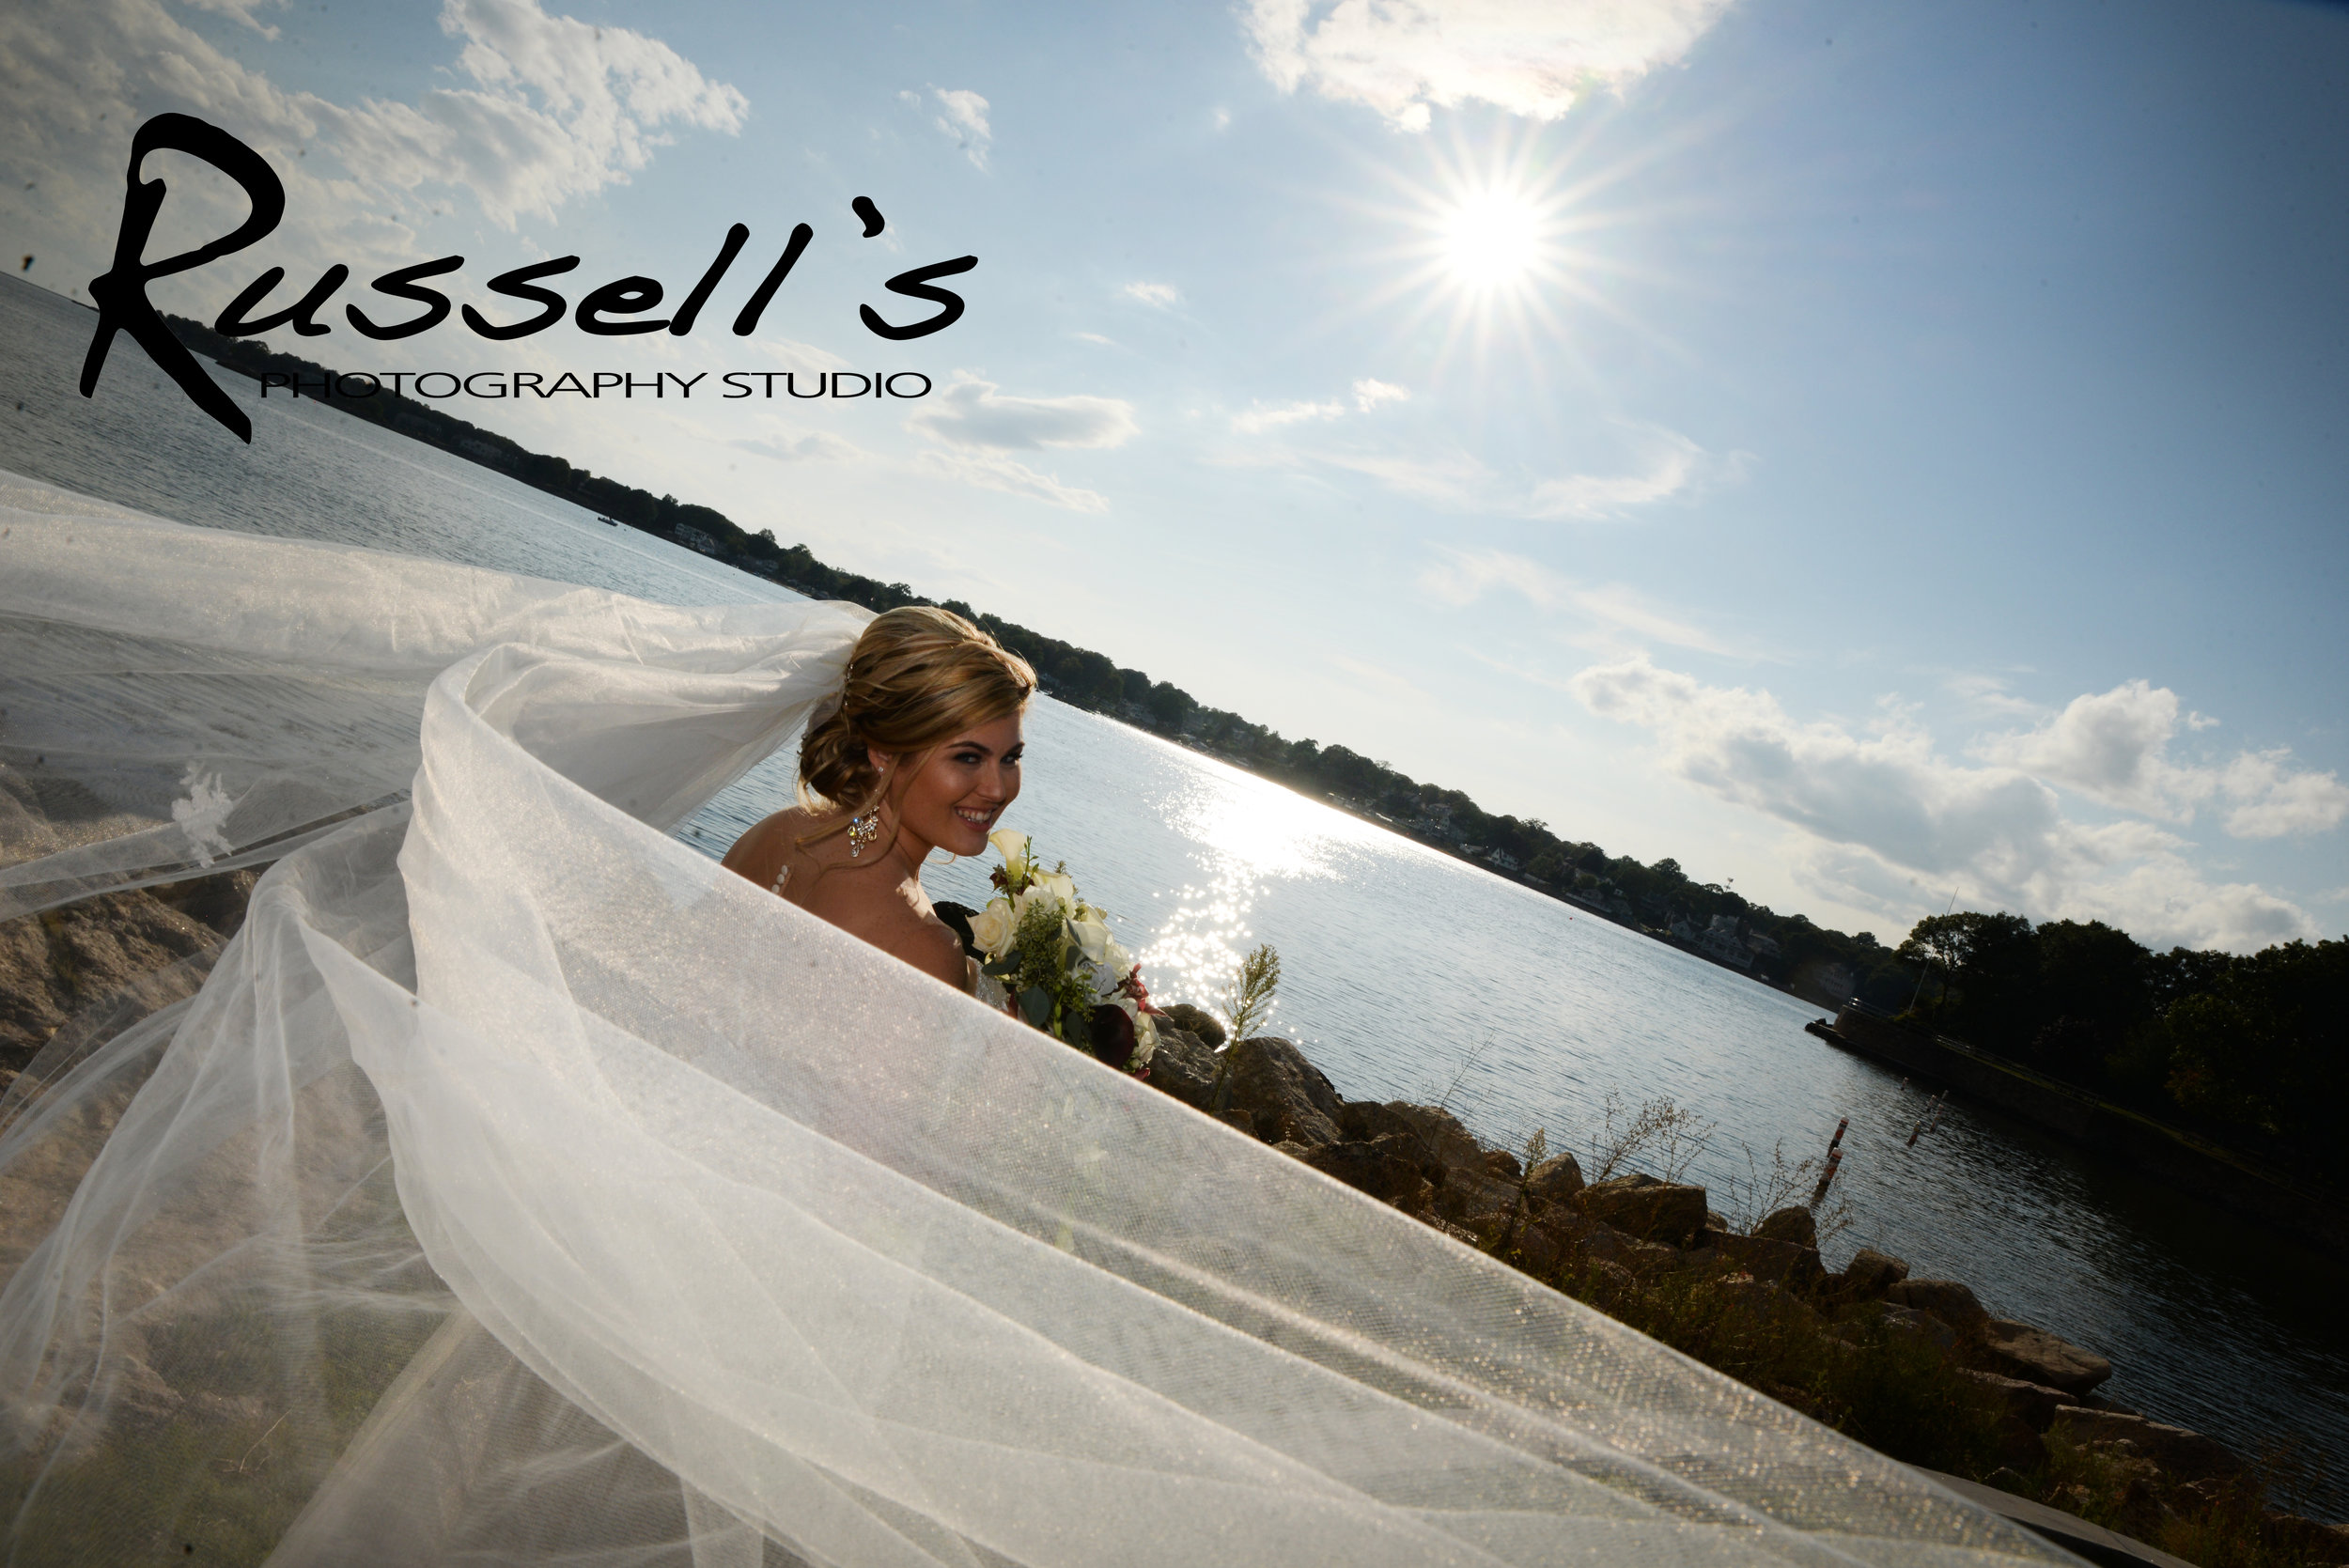
On August 31st, 2017, I had the pleasure of doing makeup for Taylor's picturesque wedding on the water. I recently received photos from Russell's Photography Studio and just had to share them! I created each look using Temptu Airbrush Foundation for a long lasting, flawless finish. To book Beauty by Chelsea Dae for your wedding, please click here!
MAKEUP: Beauty by Chelsea Dae LLC
PHOTOGRAPHY: Russell's Photography Studio
HAIR: Marisa Pisani

Hi friends!
So I am SUPER excited about this blog post! A few months ago, I decided that I was not going to film makeup tutorials because I was fed up with the entire process of doing the makeup, filming it, and editing it. Well, thanks to a friend's small push, I have decided to film a tutorial for you after all! I recruited the lovely Gia to model this look for me. I know it is somewhat odd that such a young lady is modeling a bridal look, but she's gorgeous so I don't care! Below, I have posted a detailed, step-by-step description of how I created this look. I will also have the video at the end of the post! I hope you love it!
1) Apply MAC Paint Pot in Painterly to the lid with an eyeshadow brush and blend
2) Using Tarte's Tartelette In Bloom Palette:
3) With a concealer brush, apply NYX Jumbo Eye Pencil in Milk to the lid and under brow
4) Spray an eyeshadow brush with MAC's Fix Plus and apply the color Funny Girl to the lid and inner corner
5) Using a liner brush and Tarte's Tarteist Clay Paint Liner, draw a line along the lash line and create a small wing
6) Clean skin with makeup wipe
7) Apply Kiko Crystal Fusion serum with a foundation brush
8) Apply moisturizer with a foundation brush
9) Apply Benefit Porefessional Primer with ELF's stippling brush
10) Spray MAC Fix Plus over entire face
11) Apply LA Girl Green Color Corrector to red areas with fingers
12) Apply NYX Orange Corrector under eyes with fingers
13) Spray beauty sponge with Fix Plus and blend green and orange correctors
14) Apply L’Oreal Infallible Pro Glow Foundation with fingers and blend with large oval foundation brush
15) Apply MBDBeauty Flash Pen in Dark and Colour Pop's Sculpting Stix in Easy Peasy to contour areas and blend with medium oval brush
16) Apply Maybelling Fit Me Concealer and Temptu S/B concealer under eyes and blend with small oval brush
17) Apply MBDBeauty Flash Pen in Pink to the apples of the cheeks and blend with ELF's stippling brush
18) Apply RCMA No Color Powder under eyes with damp beauty sponge and around face with powder brush
19) With an angled brush, apply Smashbox's Medium Bronzer to contour areas
20) Apply Tarte's Amazonian Clay Bronzer in Park Ave Princess with the same angled brush
21) Apply Smashbox Blush with angled brush to the apples of the cheeks
22) Spray fan brush with Fix Plus and apply The Balm Mary Lou-Manizer on cheekbones, bridge of nose, cupid’s bow, over and under brows, and inner corners
23) Fill in brows with NYX brow pomade and brow gel
24) Using Tarte's Tartelette In Bloom Palette:
25) Apply NYX Jumbo Eye Pencil in Milk to the waterline with a small brush
26) Apply mascara with disposable mascara wand
27) Apply lashes with DUO lash glue
28) Apply MBDBeauty Lipstick with disposable lipstick applicator
29) Apply MBDBeauty Lipgloss with disposable lipstick applicator
30) Spray entire face with Fix Plus
Thank you so much for reading and watching my tutorial! Stay tuned for more :D
Love,
Chelsea Dae
Here it is...my Top 10 Holy Grail Products. Some of these, I have been using for years; some, I just discovered in the past year. Either way, I have not been able to put these products down since I got them. Now, this may come as a surprise, but this was a pretty easy list to come up with. I just thought about which products I am constantly picking up, even when I have other options. The list is in no particular order. There are different reasons why I love each product and they all have different purposes. Of course, I will tell you exactly what I love about each product and also, how I use it! Enjoy :D
1) Becca Cosmetics x Jaclyn Hill Shimmering Skin Perfector Pressed in Champagne Pop $38.00

I know I said this list was in no particular order, but I had to put this first on my list because it has a story behind it. I remember the day I bought this highlight, I was on my 30-minute break and I thought it would be a good idea to go to Sephora. I had no intention to buy Champagne Pop on this day, and honestly, I didn't even expect to see it (it had been sold out every single time I looked). Much to my surprise, it was finally in stock! So, as I always do, I bought it impulsively. Normally, such a high price would turn me away, but...it was limited edition at the time, had been sold out for a month, was finally back in stock, and everyone was talking about it. Yeah, I'm that girl. At first, I hated it. I didn't see what all the hype was about! For the first week, I barely used it. I thought it was powdery and didn't give off enough shine. Well, I was wrong. Now, I reach for this highlight every. single. day. I don't want to use anything else. The shade is perfect for my skin tone and it gives me the most natural, but gleaming, glow. I am officially obsessed and I highly, highly recommend this highlight. If you don't think Champagne Pop is the right shade for you, definitely try out one of the other colors because the formula alone is amazing.
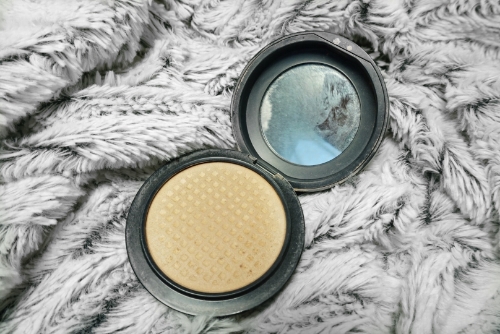
Remember earlier, when I said I have been using some of these products for years? This is one of them! Thanks to Instagram, I was able to look back to some of my first posts and found that I purchased my first Mineralize Skin Finish on June 3rd, 2013. Wow. THREE YEARS! Don't freak out. I haven't been using the same exact powder for three years. I've probably repurchased this powder three times since I first bought it. That just goes to show how much I love it. Here's why: 1) it works as a light/medium coverage powder foundation during the summer, when I don't feel like wearing a heavy face of makeup. 2) It's not a completely matte powder foundation. It gives my skin a very subtle, but natural, sheen. 3) For the days when I do wear a cream or liquid foundation, I can use a very light layer of this powder to set it, and it looks beautiful. I could just keep going, but I think the proof is in that I have purchased this powder over and over again, and still love it to this day.
3) Real Techniques Powder Brush $9.99

Want to know how I apply my MAC Mineralize Skin Finish? With this AMAZING brush! Not only have I never encountered a softer powder brush, but I've never encountered a powder brush that has stayed soft for so long. I think I've had this brush for about three years and it is just as amazing now as it was when I first bought it. I love how huge and fluffy it is, because it disperses and blends product so seamlessly on the skin. If you're looking for a great all-over powder brush, definitely try this one out. And to top it all off, it is only ten dollars!
4) RCMA No Color Powder $12.00

I tried to not repeat product types on this list, but I couldn't leave this powder out. What is great about RCMA's No Color Powder, is just that. It has absolutely no color. While MAC's Mineralize Skin Finish is great for color and coverage, the RCMA powder is the complete opposite. It's main purpose is to set makeup and mattify the skin, without altering the colors of any cream products I applied first. Say you apply foundation, concealer, cream contour, cream highlight, maybe even a cream blush, and then you put a colored powder on top of all that. Guess what. That colored powder is going to alter or erase everything you've just applied! RCMA's No Color Powder is the perfect solution. It has absolutely no pigment so it will never alter the color of any of the cream colors you apply before it.
5) Maybelline Fit Me Concealer $6.99
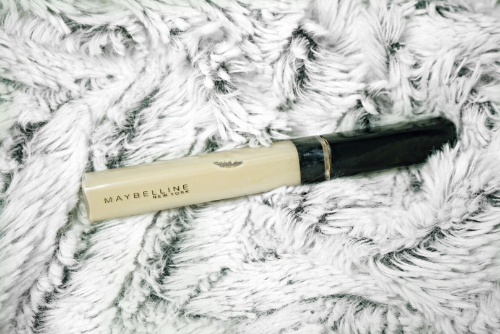
Talk about an amazing drugstore concealer! I have been using this concealer for about 2 years now, and I love it. I don't really have any drugstore concealers to compare it to, but I've also never had a reason to try a different drugstore concealer, because this one works so well. The formula is creamy, blendable, and pigmented. I use my concealer to highlight under my eyes, my cupid's bow, my forehead, and the bridge of my nose. I usually blend my concealer out with a buffing brush or a damp beauty sponge. The color payoff is great and it leaves a gorgeous finish that lasts all day. The only downside to this product is the color range. I'm pretty sure there are only six or seven color choices so it might be hard to find your perfect shade. For $6.99, though, it's worth a shot! I have tried some higher-end concealers, and while they are great, they are expensive!
6) Tarte Amazonian Clay Waterproof Bronzer in Park Ave Princess $30.00

This bronzer came out of nowhere and changed my world! I think the first time I discovered it was in my monthly Ipsy GlamBag. They had included a small sample size of this bronzer and I fell in love. So in love, that I went and bought the full size version almost immediately! Now let me tell you why I love this bronzer SO much. 1) It is the perfect shade. Not too cool and not too warm. The perfect middle. It compliments my skin color so well, and gives off the most radiant warm glow. It is perfection. 2) It's not glittery, it's glowy. Is glowy a word? It is now. When you first look at this bronzer, you may think you see glitter. But when it is applied to the skin, it is nothing but a gorgeous bronze glow. 3) It applies so well! I usually use a somewhat dense, but fluffy, brush to apply this bronzer and it always blends out so nicely. I wouldn't use a super dense brush because this is not a contour color. If you're in the market for a new bronzer, definitely give this a try. I know the price seems pretty high, but you get a lot of bang for your buck.
7) MAC Pro Longwear Paint Pot in Painterly $22.00
Let's talk eye primer! I purchased MAC's paint pot back in 2013, actually on the same day that I purchased my first Mineralize Skin Finish. Okay, don't yell at me. I am still using the same paint pot that I purchased in 2013. I know, I know. That's probably terrible in terms of sanitation, but how crazy is that?! I use this product literally every time I wear eye makeup, and I have not run out yet. That just goes to show how little product you need each time you use it. I haven't even told you what I use it for! This product makes a great eye primer! According to MAC's website, It's actually supposed to be "a long-wearing blendable cream shadow that can be worn alone or with other products." I've personally never worn this specific shade on it's own, mainly because it is the color of my skin, but I always apply it before I put on any eye products. What the paint pot does, is it creates a barrier between your skin and your shadows. Eyelids naturally create oils throughout the day, but with the paint pot, those oils cannot get through to the shadows to cause any creases. Again, the price is high, but with how little product you need to use each time, it will last forever. If I had known I would be using it for three years, I may have started sanitizing it early on. If you are going to purchase, I would recommend using a sanitized spatula to scrape a bit of product out of the pot.
8) Kiko Precision Eyeliner $10.00
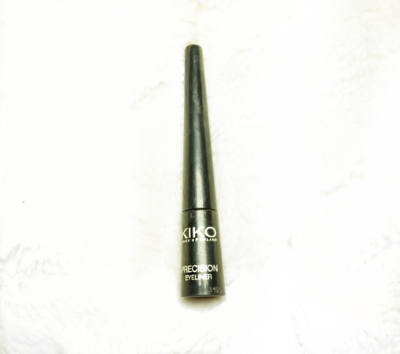
There are a lot of things I LOVE about this liquid eyeliner, and one thing I would LOVE to change if I could. My favorite thing about this liner is the felt tip applicator. I have tried so many liquid liners that have the stiffest felt tip. It becomes so hard to create a fine line when the applicator is not flexible at all. With Kiko's precision liner, the tip is flexible so you have complete control. I like to lay the felt tip flat along my lash line to sketch out my wing, then I drag the felt tip across the line to straighten it. Once I've done that, I can take advantage of the flexibility of the felt tip and literally flick it to get my wing. It's amazing. I also love the pigmentation! This liner is a true black. The only thing I would change about this liner is the fact that if you get one drop of water on your wing, it will most likely disappear. It is not very long lasting so you do have to be careful. But, even with it's faults, I still love it!
9) Colour Pop Lippie Stix $5.00
Instead of writing yet another paragraph, I am going to list a bunch of reasons why I love Colour Pop's Lippie Stix:
Have I convinced you yet?! Seriously, try these lipsticks out. They will change your life. What's great is that they have so many colors to choose from and they are sold at such a low price. You can spend the $30.00, get six different lipsticks, and find out which formula and color you really like. A few of my favorite colors are Aquarius (the perfect nude), Bichette (the perfect red), Lumiere (the perfect mauve pink), and Lady (the perfect burgundy).
10) Benefit Roller Lash Mascara $24.00

Finally, my favorite mascara. I have about 20 mascaras in my collection right now (yes, I'm a makeup addict...you should've guessed that already). Out of all of my mascaras, I am constantly picking this one up. It is so different from any other mascara I have tried. For one, the formula is so unique. I'm not sure exactly what it is, but it feels so soft on my lashes. I personally hate a mascara that feels like it is sucking all of the moisture out of my eyes and gets flaky throughout the day. With Roller Lash, you're lashes stay soft all day and there is no fall out under your eyes. Second, I love love love the wand. The purpose of this mascara is to curl your lashes, and it does do that, but it also separates and lengthens my lashes beautifully! I think it is the most natural looking mascara I have ever used, but it still draws attention to the eyes. I think it is beautiful and I would definitely give it a try if I were you!
If you read through all of that, I am one proud makeup addict. I hope this list helps you if you are still looking for your holy grail products. If you've already found your holy grails, please share because, being the makeup addict that I am, I will buy all of them. Thank you for reading and check back soon for my next post!
Love,
Chelsea Dae
Hey you! Yeah you! Did you wake up this morning, look in the mirror, and think, "great, it looks like I was punched in the eyes." Lucky for you, I am here to help! Keep reading to see my step-by-step process on how to get rid of dark circles and puffy eyes!
1) If you wake up with dark circles and puffy eyes every morning, try out this night-time ritual. Place two clean metal spoons in your freezer every night and when you wake up, hold the cold spoons to your eyes. This will help to minimize puffiness, which is the first step to making yourself look like you weren't out until 2am partying the night before.
2) To take it a step further, invest in a brightening, anti-puffiness eye serum. Below I have linked two products that will work perfectly! To top it off, you can actually combine steps one and two by placing your eye serum in the fridge overnight. OOOOOOH. AAAAHHHH. The two serums I have linked below actually have stainless steel applicators, so you can kill two birds with one stone by cooling the eye serum. Some eye serums also have brightening qualities, which is always a plus.

KIKO SKIN TRAINER EYES

FIRST AID BEAUTY EYE DUTY TRIPLE REMEDY
3) Now that we've covered skin care, it's time to cover up those dark circles with a few simple tricks. First, apply your favorite primer and foundation, but keep it light around the eyes. You don't want too much product to build up around your eyes, but it's important to apply foundation first, as a base.

4) To color correct your dark circles, you want to keep the color wheel in mind. Having dark circles means that you have bluish-purple tones under your eyes. To correct bluish-purple tones, we need to apply the opposite color, yellow-orange (or salmon). Covering your dark circles with a yellow, orange, or salmon concealer will counter the colors and also brighten the under-eye area.
5) Here are some products you can use to color correct dark circles:

L.A. GIRL PRO CONCEAL YELLOW, ORANGE, AND GREEN CORRECTORS

KIKO COLOUR CORRECTION CONCEALER WHEEL

URBAN DECAY NAKED SKIN COLOR CORRECTING FLUID IN PEACH
After you've applied your foundation, place a small amount of any one of these color correctors directly under your eye, covering any dark tones you see. You can then blend out the color corrector with a beauty sponge or brush. When you're blending, be sure to tap and not wipe. Tapping the product will keep it where you want it, whereas wiping will wipe it away and defeat the purpose.
6) Now, you can move on to the rest of your routine. Personally, I like to apply my cream contour, blend, and then apply my concealer/cream highlighter! You can definitely apply a concealer on top of the color corrector. I actually highly recommend this, as it will help to brighten up the under eye even more.
7) Before you leave the house, PLEASE make sure you set your under eye with a very fine powder. I highly, highly recommend RCMA's No Color Powder, as it will not alter any of the colors you've already applied and it is very thin, so you will not experience any product buildup.

RCMA NO COLOR POWDER
And that's it! See how easy it is?! I think color correcting dark circles is one of those things that everyone is kind of scared of, but really, it is one of the easiest things to do and it can 100% improve your look! Good luck with your color correcting adventures and check back every Sunday for a new blog post!
Love,
Chelsea Dae